Posted on 6 Comments

Brew Guide: Keurig

Brew Guide: Keurig

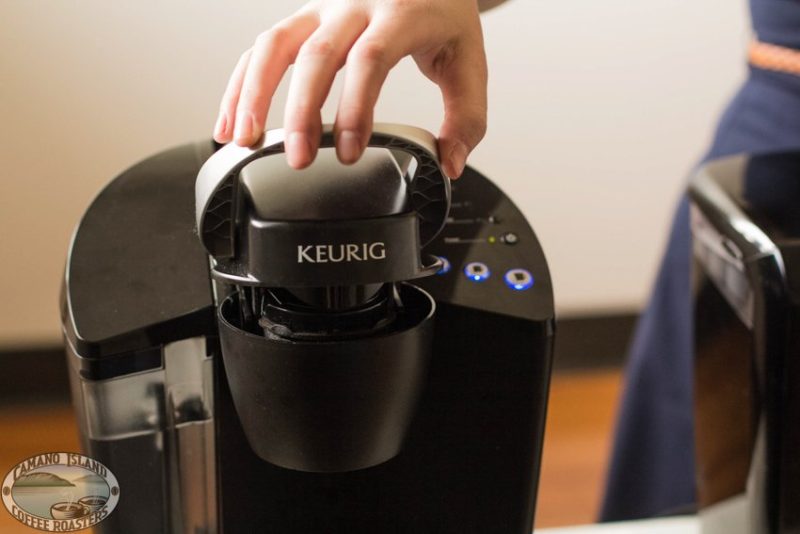
The Keurig is one of America’s new favorite ways to brew single-serve coffee. It’s fast and easy, but all those disposable K-cups can be harmful to the environment and your wallet.  How can you avoid these problems? By using a refillable filter like the Solofill, you can save money and do your part to care for our environment.

Using a Keurig is really easy and only takes about 5 minutes.

What You Need

  • Keurig
  • Solofill
  • Water
  • Coffee
  • Burr Grinder

Amounts

For a 6 oz cup, scoop 1 tablespoon grounds into the filter.  For an 8 oz cup, use 2 tablespoons.

Grounds

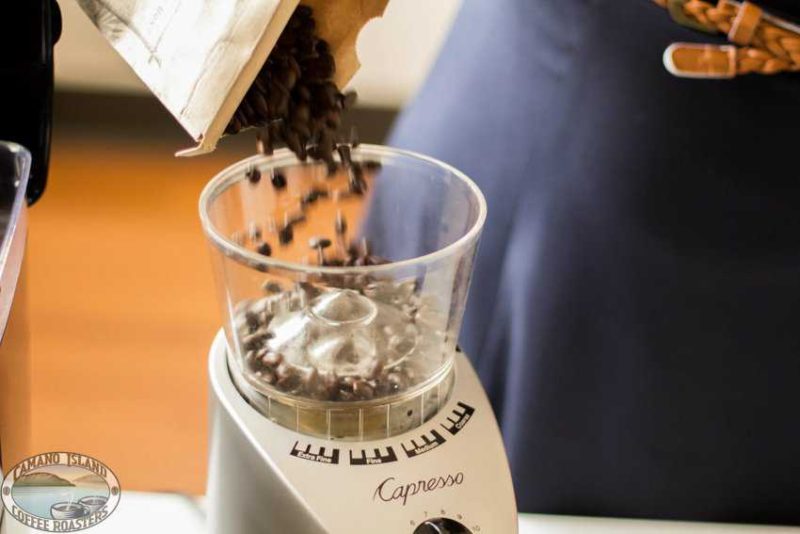
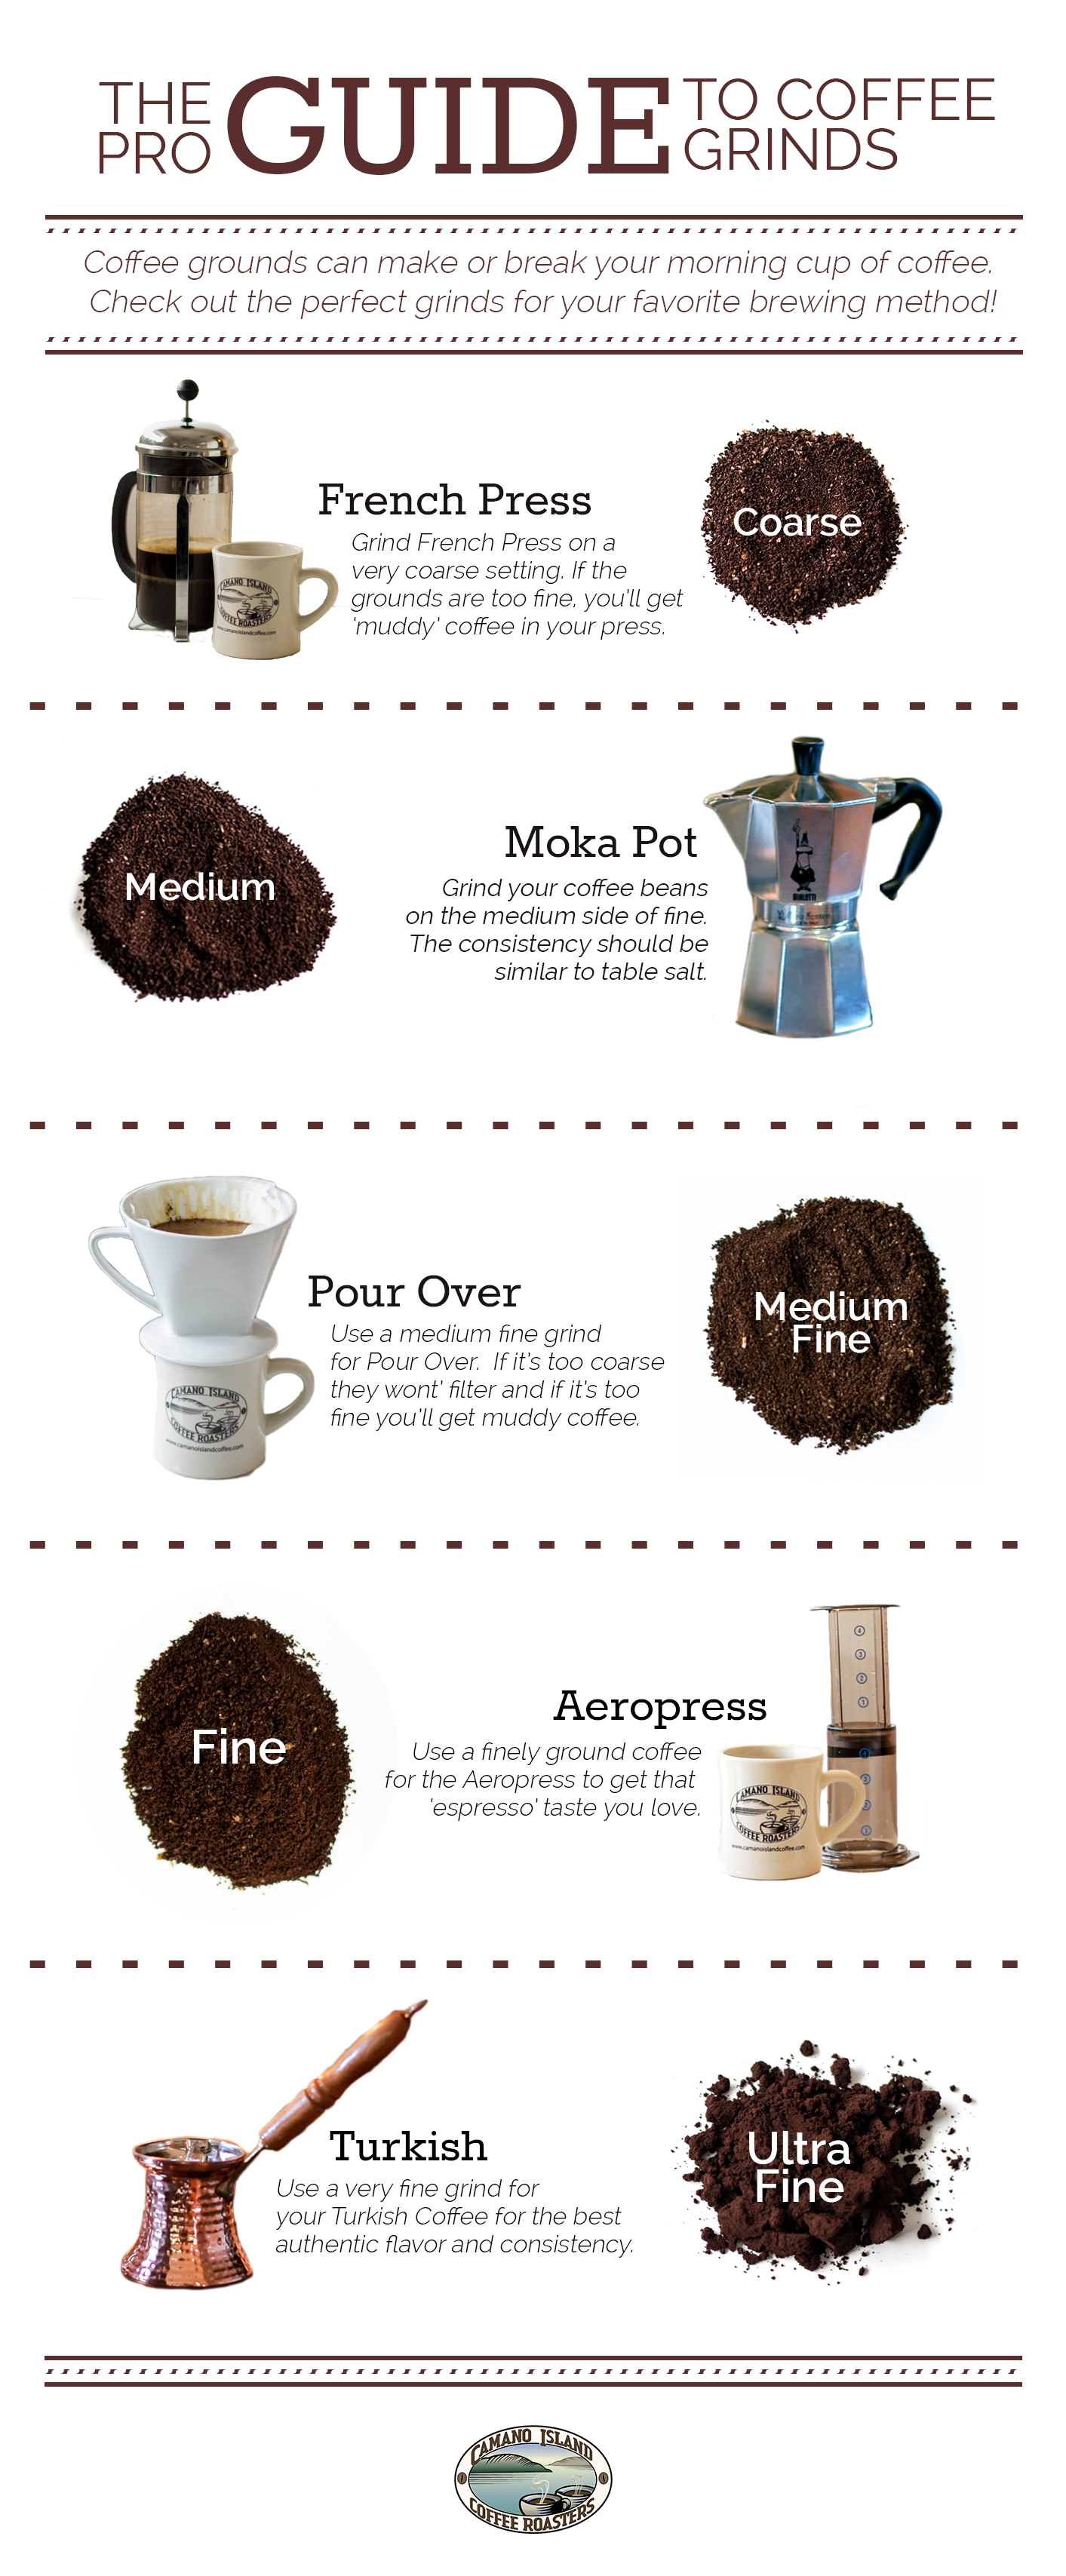
First, you’ll want your coffee ground to a medium grind – a #6 on an industrial grinder. This is important, because a course grind will produce a weak coffee, but a fine grind will clog the machine.

Filter

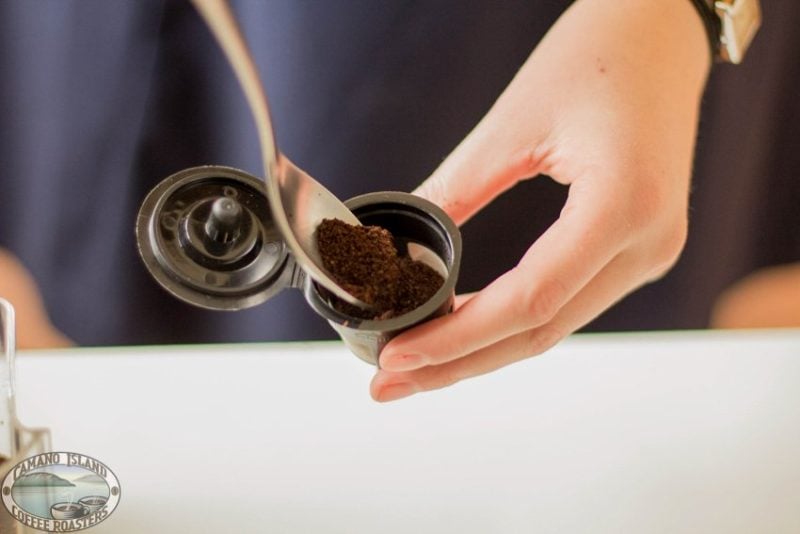
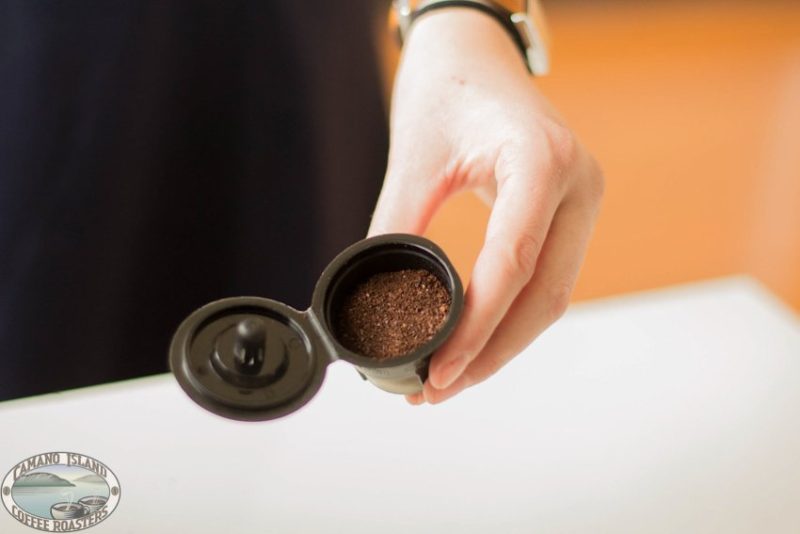
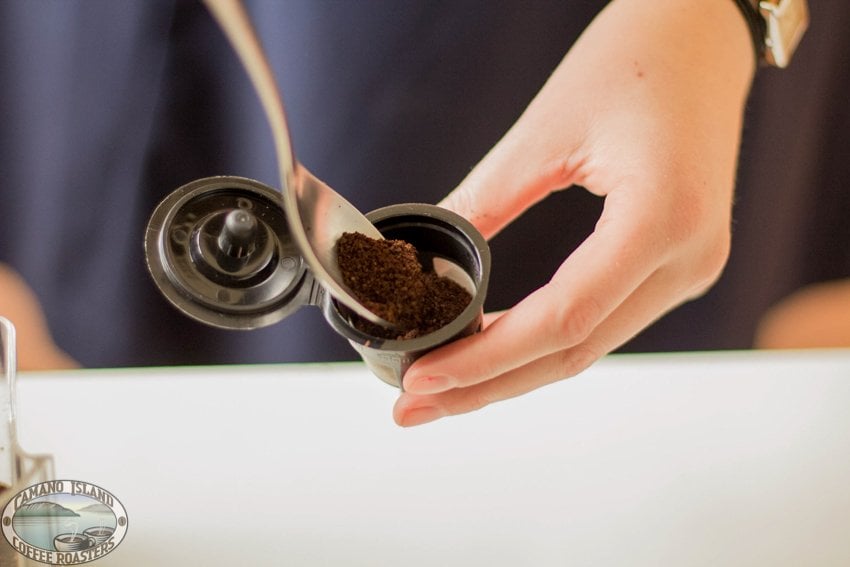
Use a spoon to scoop the grounds into the filter, and run your finger around the rim to clear any grounds. By removing the excess grounds, you are ensuring the lid seals properly and therefore preventing it from making a big mess – you don’t want to learn this the hard way!

Brew

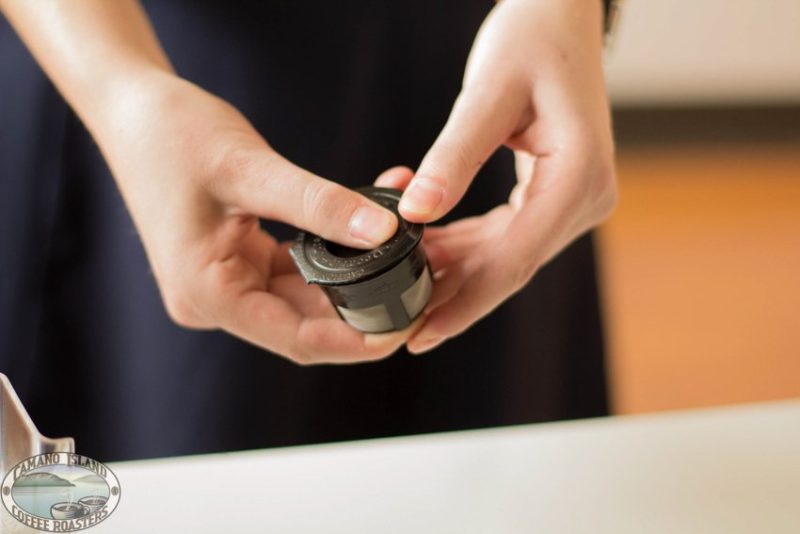
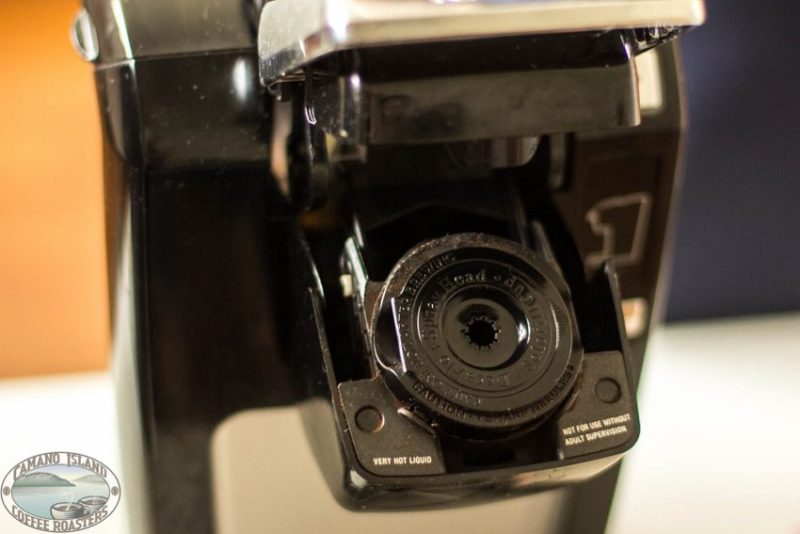
Once you’re ready, close the top of the lid and place your favorite coffee mug underneath the spout. Press the “Brew” button and in just a minute you can enjoy your fresh Camano Island Coffee!

Final Steps

You might be tempted to try to brew twice using the same grounds, but don’t do it! The second round will taste like coffee-tinged water.  Simply let the used grounds cool a bit, dump them out, give the filter a quick rinse, and you’re ready to brew another cup.

Enjoy

Sit back, relax, and enjoy the simplicity of the Keurig matched with the taste of your favorite Camano Island Coffee.

Posted on 5 Comments

Brew Guide: Aeropress

Brew Guide: Aeropress

Aerobie, the company that invented the Aeropress, is not a coffee company by origin. Their first product was actually the Aerobie Pro – A flying disk. Alan Adler, the founder of the company, had invented many disk-like toys before he invented the Aeropress. Today, Aeropress is Aerobie’s #1 product and an extremely popular method of one cup brewing. The Aeropress produces an espresso strength coffee and as a result, has become known as the “poor man’s espresso.”

Aeropress is a pretty easy brew and only takes around 10 minutes.

What You Need

  • Aeropress
  • Tools Included
  • Water
  • Coffee
  • Circular Filter
  • Gooseneck Kettle
  • Grinder

Amounts

1 scoop coffee & 12 oz water 16 grams coffee & 355 grams water

You’ll want one heaping Aeropress scoop of finely ground coffee to start – a #4 grind on industrial machines.

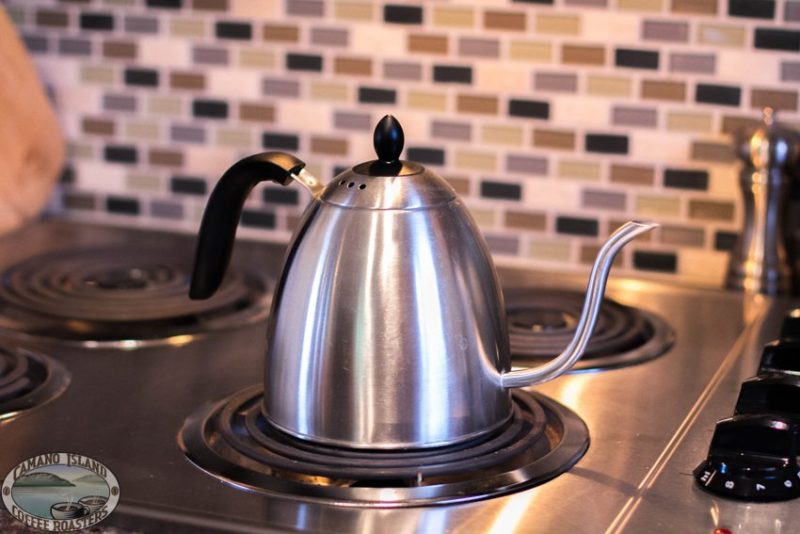
To prepare your water, bring it to a boil and then remove from heat. Never pour boiling water straight onto coffee grounds – it will scorch them and give your coffee a burnt flavor. Allow the water to cool for 30 seconds (the temperature should be between 195-205) before you proceed to the next step.

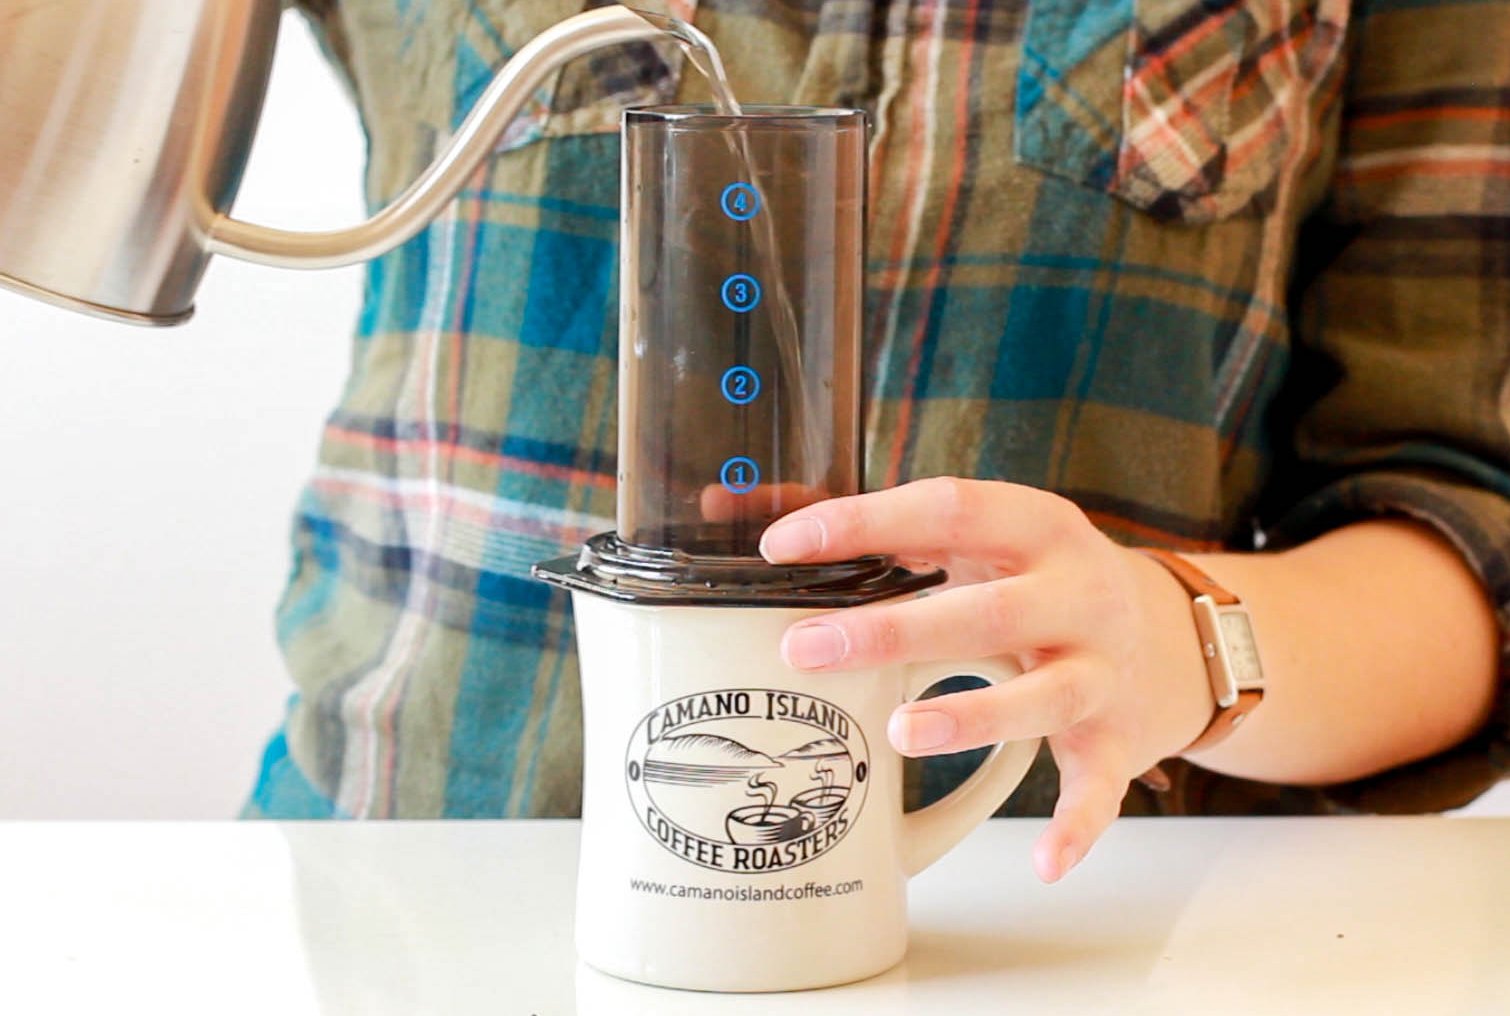
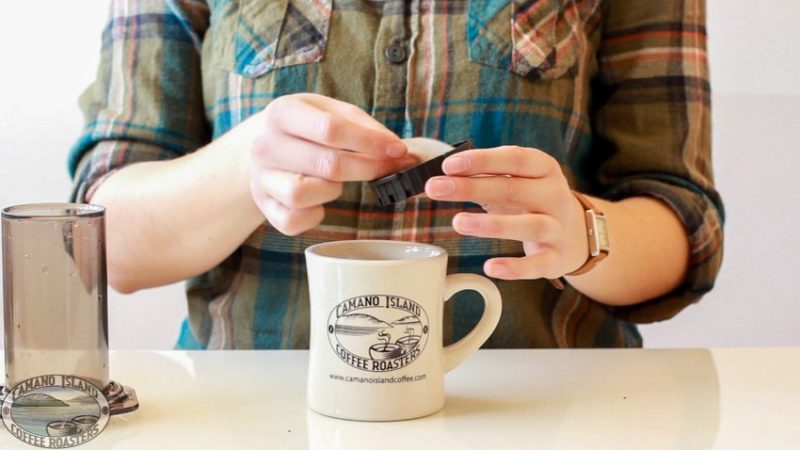
Place the paper filter into the plastic filter, screw it onto the Aeropress and set it over your mug. From here, you can wet the filter with your hot water, to remove the papery taste and heat your press and mug. Dump out the water before proceeding.

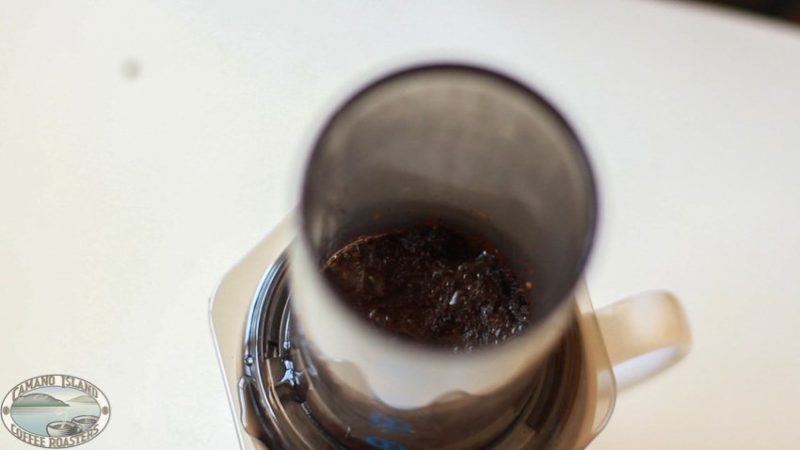
Drop the grounds into the cylinder, and add just enough water to cover them. Let them bloom for 30 seconds before continuing.

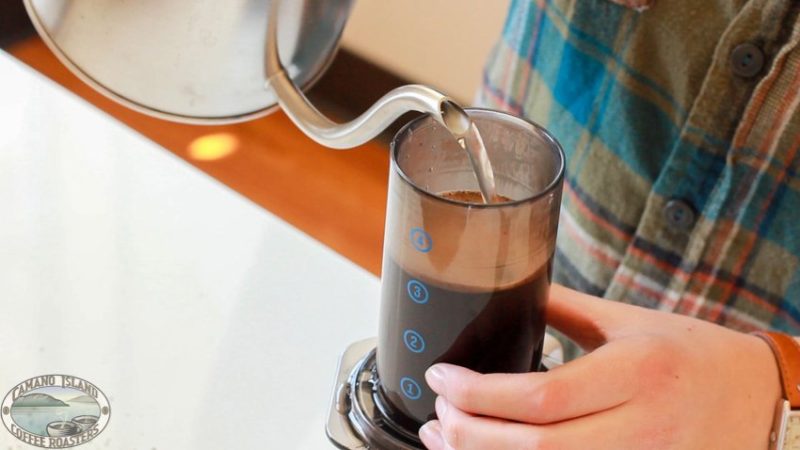
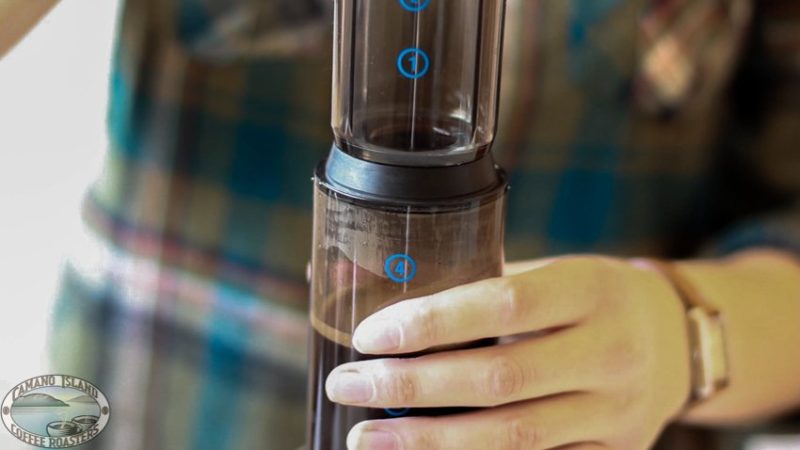
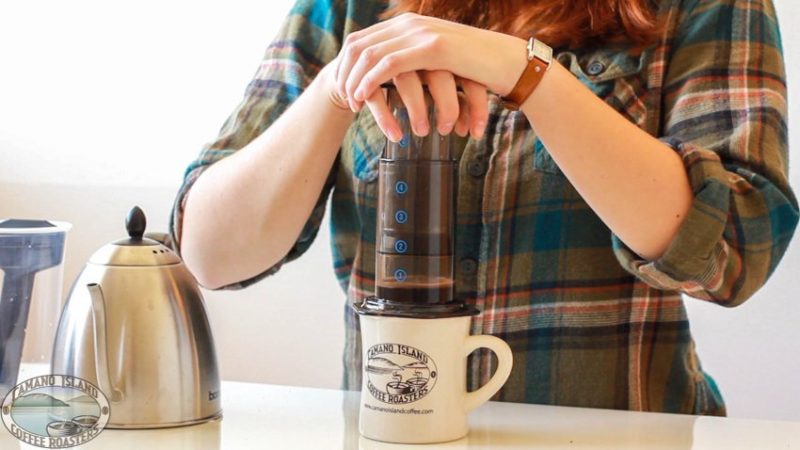
After the bloom, pour more hot water into the Aeropress, until the water level is just above the blue number 3.

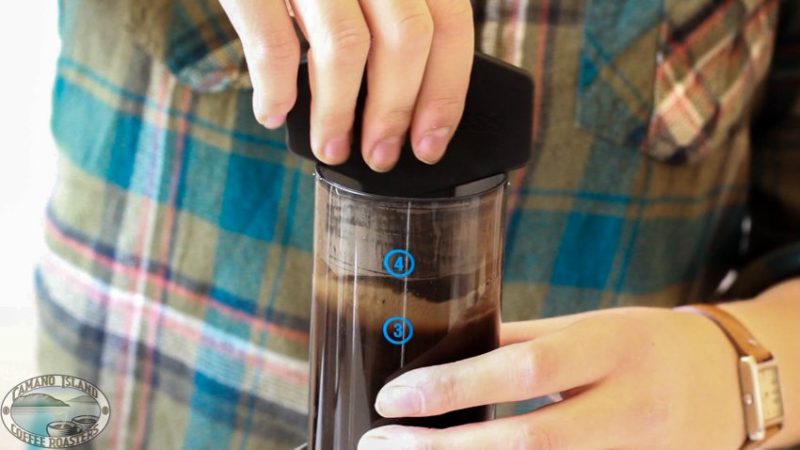
Use the paddle that comes with your press to give the grounds a stir for about 5 seconds, then place the plunger into the tube. From here, slowly press the coffee through the filter until you hear a hissing noise.

Add hot water for an americano, Steam milk for a latte, or drink it straight. ENJOY!!!
Posted on 2 Comments

How To Use a French Press

How To Use a French Press

On Camano, at CICR’s roasting building or by phone, we are frequently asked questions about proper preparation techniques for coffee. One of the most popular brewing methods is using a french press pot. Read on to learn how to use a french press.

An Introduction

The french press is considered by many to be the best way to enjoy the true flavor of the coffee. If there was a college course on coffee, How to use a french press would be in Coffee 101! The preparation of the drink allows more sediment to be included in the beverage, making it a strong, rich, cup of coffee. After brewing, the ground coffee beans remain in contact with the brewed coffee causing the flavor to grow stronger and at some point, turn bitter. It’s generally considered to be “expired” or “old” after 20 minutes or more of contact with the water. One interesting thing about our coffee is that you’ll find the flavor will last well past that 20 minute point due to the extreme smoothness of our high quality, shade-grown, and ethical coffee beans. We still recommend consuming it prior to 20 minutes but if you don’t, don’t throw it out! You may still really enjoy it!

On to the brewing…

Great! Let’s get started. French Press is painless and easy but to cut back any confusion (in case you’ve pulled out that french press in the back of your cupboard and are following along), I’m going to do a numbered list to help guide you through the preparation steps.

How to Use a French Press in 12 Steps

  1. Start a pot of water boiling.
  2. While the water is boiling, it’s time to get your other items accumulated and ready. You’ll need a grinder, a scoop or some utensil for measuring your coffee into the french press, a french press, and a mug or two for the finished product.
  3. Once the water is at a boiling temperature, it’s time to start the process.
  4. Turn off the burner and remove the pot so the water can cool slightly. By the time we are done, it should be very close to the exact temperature we are aiming for.
  5. Grind your coffee beans on your grinder’s coarsest setting.
  6. After grinding, immediately scoop the desire amount of coffee into your french press. (A good starting point is about 8.5 grams of coffee per 4 ounces of water – then adjust to taste).
  7. By this point, your water should be perfect temperature.
  8. Fill the pot up towards the top moving the stream around to saturate all the ground coffee beans. (Make sure and save some space for the plunger mechanism)
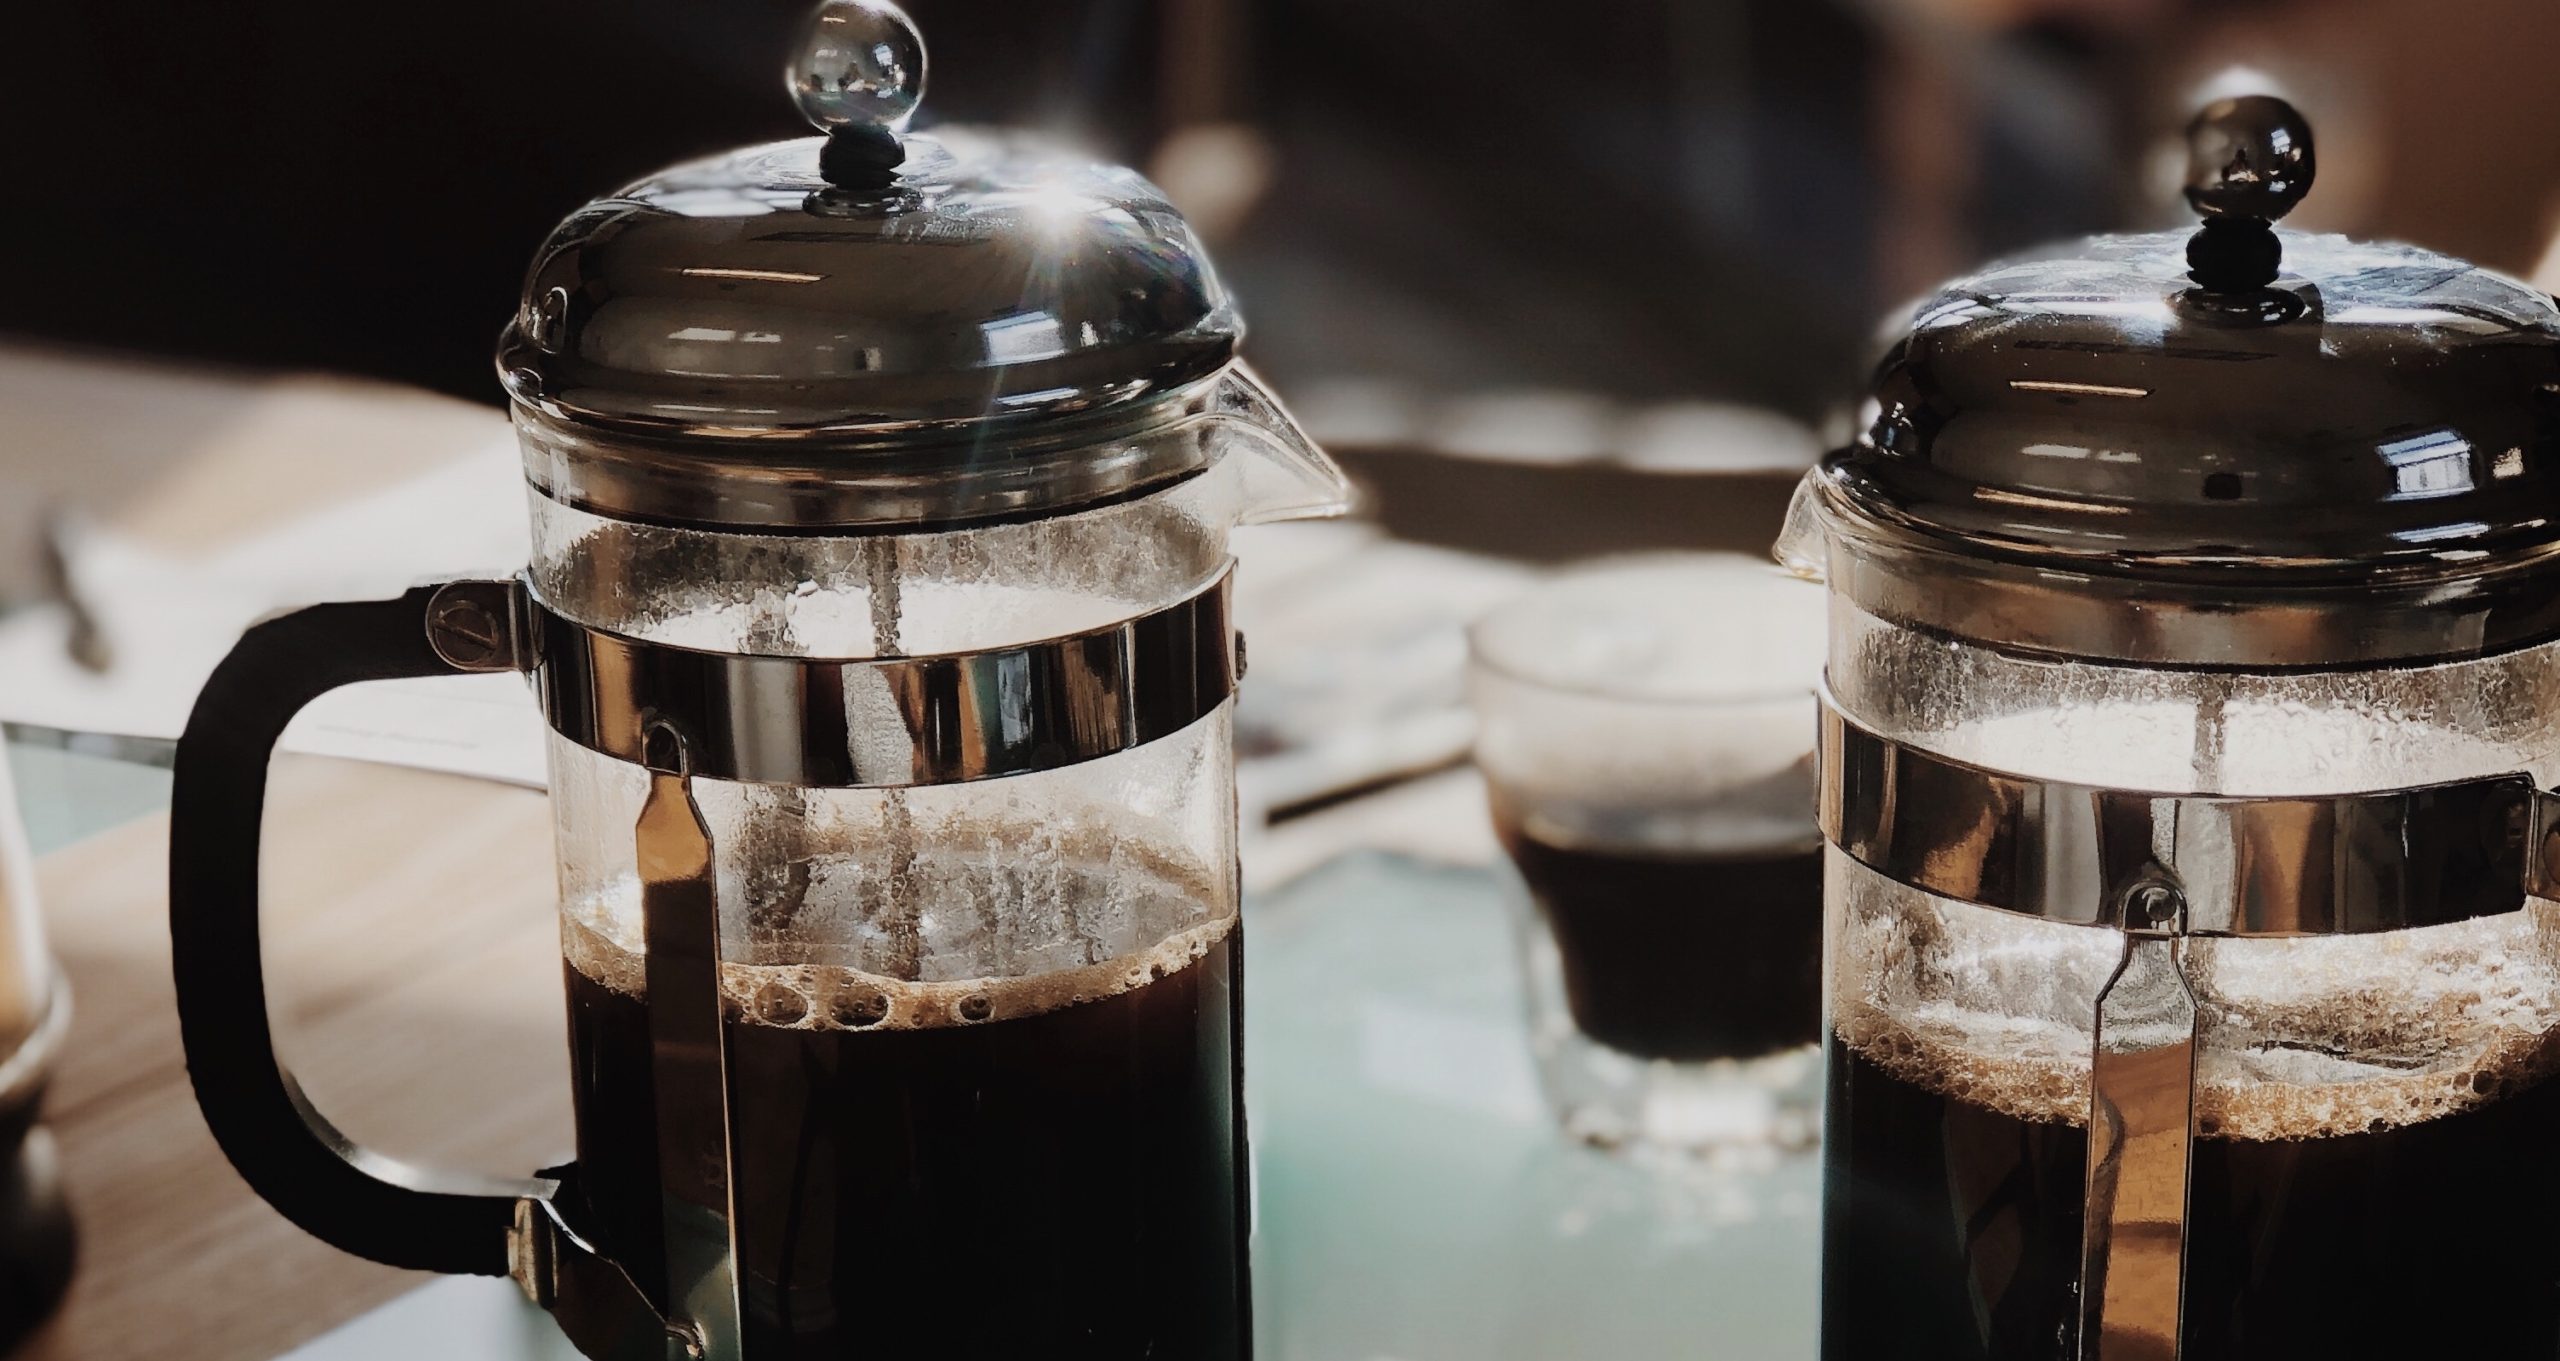
  9. Add the top and plunge down slightly to completely submerse all the grounds in the water.
  10. Wait. 2-3 minutes for smaller, personal french presses is a great time and 4 minutes for larger ones. (I personally will err on the side of waiting too long rather than not long enough to make sure I get a good extraction)
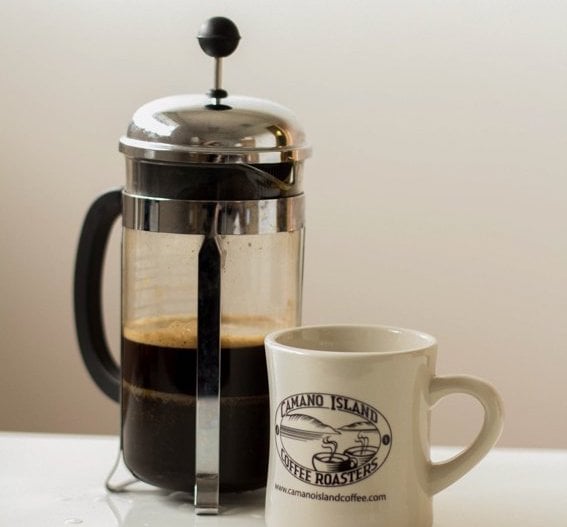
  11. It’s time! Slowly and steadily press the plunger down while trying not to let the rod bend or bow.
  12. Serve and enjoy! ~ That’s how to use a french press!

Note: I’m writing this assuming you use a good burr grinder (either flat burr or conical burr). If your coffee comes pre ground coffee beans or you use a small hand grinder, I HIGHLY recommend that you looking into purchasing a burr grinder (for the sake of a good, consistent, fresh grind) and promise you’ll love your coffee all that much more!
It’s really easy! After you do it one or two times, you’ll become a pro and be making it often in the future. While french pressed coffee is very popular, coffee is a wonderful product in that there are so many ways to enjoy it. Each individual finds their own way of enjoying every last drop. Keep your eyes peeled for more “Coffee Making” posts and you’ll be able to brew the perfect cup of coffee no matter what you’re presented with.
Until next time, Press Away!

Dan – CICR

Posted on Leave a comment

3 Shocking Facts About Artificially Flavored Coffee

3 Shocking Facts About Artificially Flavored COffee

Mmmmm . . . . ! Mocha, caramel, and hazelnut flavored coffees fly off the shelf daily. Unfortunately, many coffee drinkers remain in the dark about artificially flavored coffee. Learn the 3 Shocking Facts About Artificially Flavored Coffee and keep reading to the end to learn the 4 Keys to Mind-Blowing Natural Coffee Flavor.

A Smorgasbord of Chemicals: Cream, Sugar, or Antifreeze?

That’s right, you read that correctly, a smorgasbord. The popular coffee flavoring chemical compound propylene glycol, also exists in antifreeze! Do you love Irish Cream? That’s made with ethyl alcohol, dimethylamine-D1, and formamidine acetate. Does that sound delicious? If you’re a fan of peanut flavor, you’re drinking 2,4-dimethyl-5-acetylthiazole. Yikes! There’s got to be a better way to enjoy coffee.

HAZMAT is the New Black!

Naturally, using strong solvents and chemicals to flavor coffee can have an adverse effect on employees. Hazmat suits — this is the dark side of flavored coffee. Without these suits, workers risk terrible long term health effects such as bronchiolitis obliterans, a type of incurable lung cancer. Now just think you drink these flavored beans. Do you really know what’s going into those beans? When you think of employees working at a coffee company, do you picture them wearing HAZMAT suits? Neither do we. That’s why we never flavor our beans. We don’t have to. Read to the end to find out why.

Bitter Beans, Better Taste?

Speaking of brewing flavored coffee beans, what kind of coffee needs to be flavored anyway? The cheap stuff. The stuff that’s left over. The stuff that you couldn’t drink without strong chemicals tricking your taste buds. Most flavored coffee is cheap robusta beans: the highly acidic, bitter coffee beans most big coffee companies use as filler. These beans are simply the carriers of the chemical flavors. You’re not really drinking coffee.

4 Keys to Mind-Blowing Natural Coffee Flavor

1) Coffee Has More Flavor Potential Than Wine

If your coffee is fresh, organic, and free of imperfections it will blow your taste buds away. How? Because if coffee is taken care of, it will release the power of 800 naturally occurring chemical compounds. To give you some perspective, wine has only 200 flavor compounds. Coffee is packed with flavor — you just have to treat it right.

2) Freshness Is Key

Protect your coffee experience with fresh coffee. Coffee loses its flavor within the first few weeks after roasting. To give you some perspective, grocery store coffee is on average 3 months old due to the logistics of transportation and distribution. Protect your coffee flavor by only buying coffee that’s been roasted fresh within the past few days.

3) The Soil Must Be Nutrient Rich

A little known fact about coffee is how it gets its flavor. Coffee draws its flavor from the minerals and nutrients stored in the soil. The soil replenishes its nutrients and minerals naturally when a variety of plant life is grown together. That’s one reason why we only roast coffee that is shade-grown. It simply improves the soil quality and therefore the flavor.

4) Country of Origin Also Plays a Role

The coffee tree is affected by the climate and elevation of the coffee’s country of origin. The higher the elevation the better. The more tropical the climate the better. The combination of soil type, climate, and elevation all combine to give you 800 chemical compounds that make up the complex flavor of coffee beans.

Adding it all together . . .

This image has an empty alt attribute; its file name is A_small_cup_of_coffee-800x600.jpg

When you add together the soil type, the high elevation, and the tropical climate you find there are only a handful of places in the world that can grow truly phenomenal coffee. It’s Your Lucky Day! If you love artificially flavored mocha, then you’ll love our organically grown Papua New Guinea with its naturally strong cocoa tones. If hazelnut is your flavor of choice, then our Brazil Dark roast with its strong nutty flavors will knock your socks off.  And right now, when you join the Coffee Lover’s Club you can try either of these coffees for free. Give them a shot and let us know what you think.

Posted on Leave a comment

Put Your Grounds In The Ground!

Put Your Grounds In The Ground!

Let’s face it…as soon as you smell your Camano Island Coffee at your doorstep you can’t wait to drink it, right?! You rip the bags open and start drinking it as soon as possible. But what happens after you’ve enjoyed every cup? Do you throw the grounds out without a care in the world? You may not know this, but you’re throwing away the world’s best fertilizer!

Make Your Neighbors Envious Of Your Coffee Garden!

Naturally, coffee grounds are packed with nutrients and minerals making them the perfect soil enhancer to boost your garden’s beauty. With essential minerals such as potassium, phosphorus, magnesium and copper, your hungry garden can get lots of what it needs from coffee! Whether they’re indoor or outdoor – your flowers, shrubs or evergreens will love your coffee with all its nutrients.

Don’t Forget The Nitrogen!

Mineral enrichment is essential to a flourishing garden. However, did you know nitrogen is also important? Nitrogen in the soil will lead to brilliant and healthy plants. Fertilizer at the store is a great source of nitrogen, but why buy more fertilizer when coffee already arrives to your door? After brewing, coffee grounds contain up to 2% nitrogen in volume. This makes your coffee the perfect nitrogen soil enhancer!

Grow Them In The Shade

To get the maximum nutrients in your coffee beans they must be grown in the shade. When grown in direct sunlight, the roots soak up less nutrients from the soil. You don’t have to worry because your Camano Island Coffee only grows in the shade. With our commitment to shade grown, your grounds will help your flowers to flourish – causing envy in the neighborhood!

Why Using Organic Beans Is Critical

Who wants to add harmful pesticides to their beautiful flowers? We know you don’t! USDA Certified Organic guarantees no pesticide contamination on our coffee trees. This coffee is chemical free! Not only will your plants love this organic fertilizer, but your farmer’s health is protected too. You can rest assured, your Camano Island Coffee grounds will be safe around your family, kids and pets.

How Should I Place My Brewed Grounds In The Ground?

To use the coffee grounds, take your rototiller and till the coffee grounds 6 – 8″ into the ground. Mixing the grounds deep in the earth will trap the nutrients in the soil and reach your plant’s roots. Don’t have a tiller? Take handfuls of coffee grounds and thoroughly mix them with your compost. Then, sprinkle your new coffee enhanced soil around the roots of your plants.

It’s up to you how much coffee you add to your soil mixture. Your plants will absorb the nutrients whether you add a handful or a whole pound. Don’t forget – only add the grounds after they are brewed. Adding them before they’re brewed can affect the pH balance in your soil. Without the proper pH balance, your plants may wilt.

Make A Difference With Each Cup

You can do more than grow a beautiful garden with Camano Island Coffee. Not only do your plants benefit but your coffee farmers benefit as well. Your coffee is pesticide free. This means, your coffee farmer did not risk their health growing your coffee. Another reason you’re making a difference is through the environment. By not adding to your waste bin, you can enjoy your coffee through your beautiful plants and reduce your impact on the environment.

Now that you’ve gained this exciting coffee gardening knowledge, feel free to share it with your friends and family! We thank you for making a real difference for our farmers and environment by drinking the world’s top 1% grade beans! If you’re not a member yet, Join the Coffee Lover’s Club to get started! Your first pound is on us.

Posted on 1 Comment

Brew Guide: Steamed Milk

Brew Guide: Steamed Milk

The art of steaming milk is tricky, but worth the dedication required to learn. Keep a close eye on all the small details, and with practice you can become a true pro.

Steaming milk can be difficult, and takes around 4 minutes to do.

What You Need

  • Milk
  • Espresso Machine with a steamwand
  • Pitcher
  • Cloth

Pour Milk

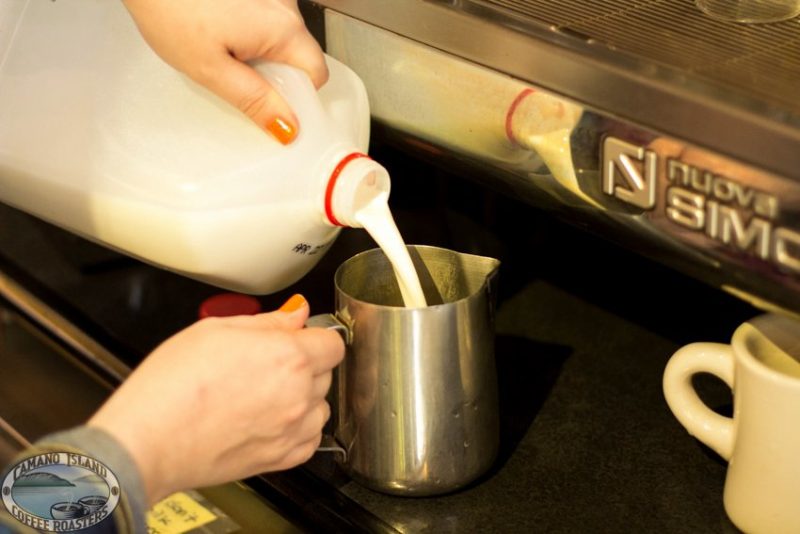
To start, pour milk into your pitcher till it’s about half full. You will need the extra room to properly steam your milk and achieve fantastic foam.

Steaming Your Milk

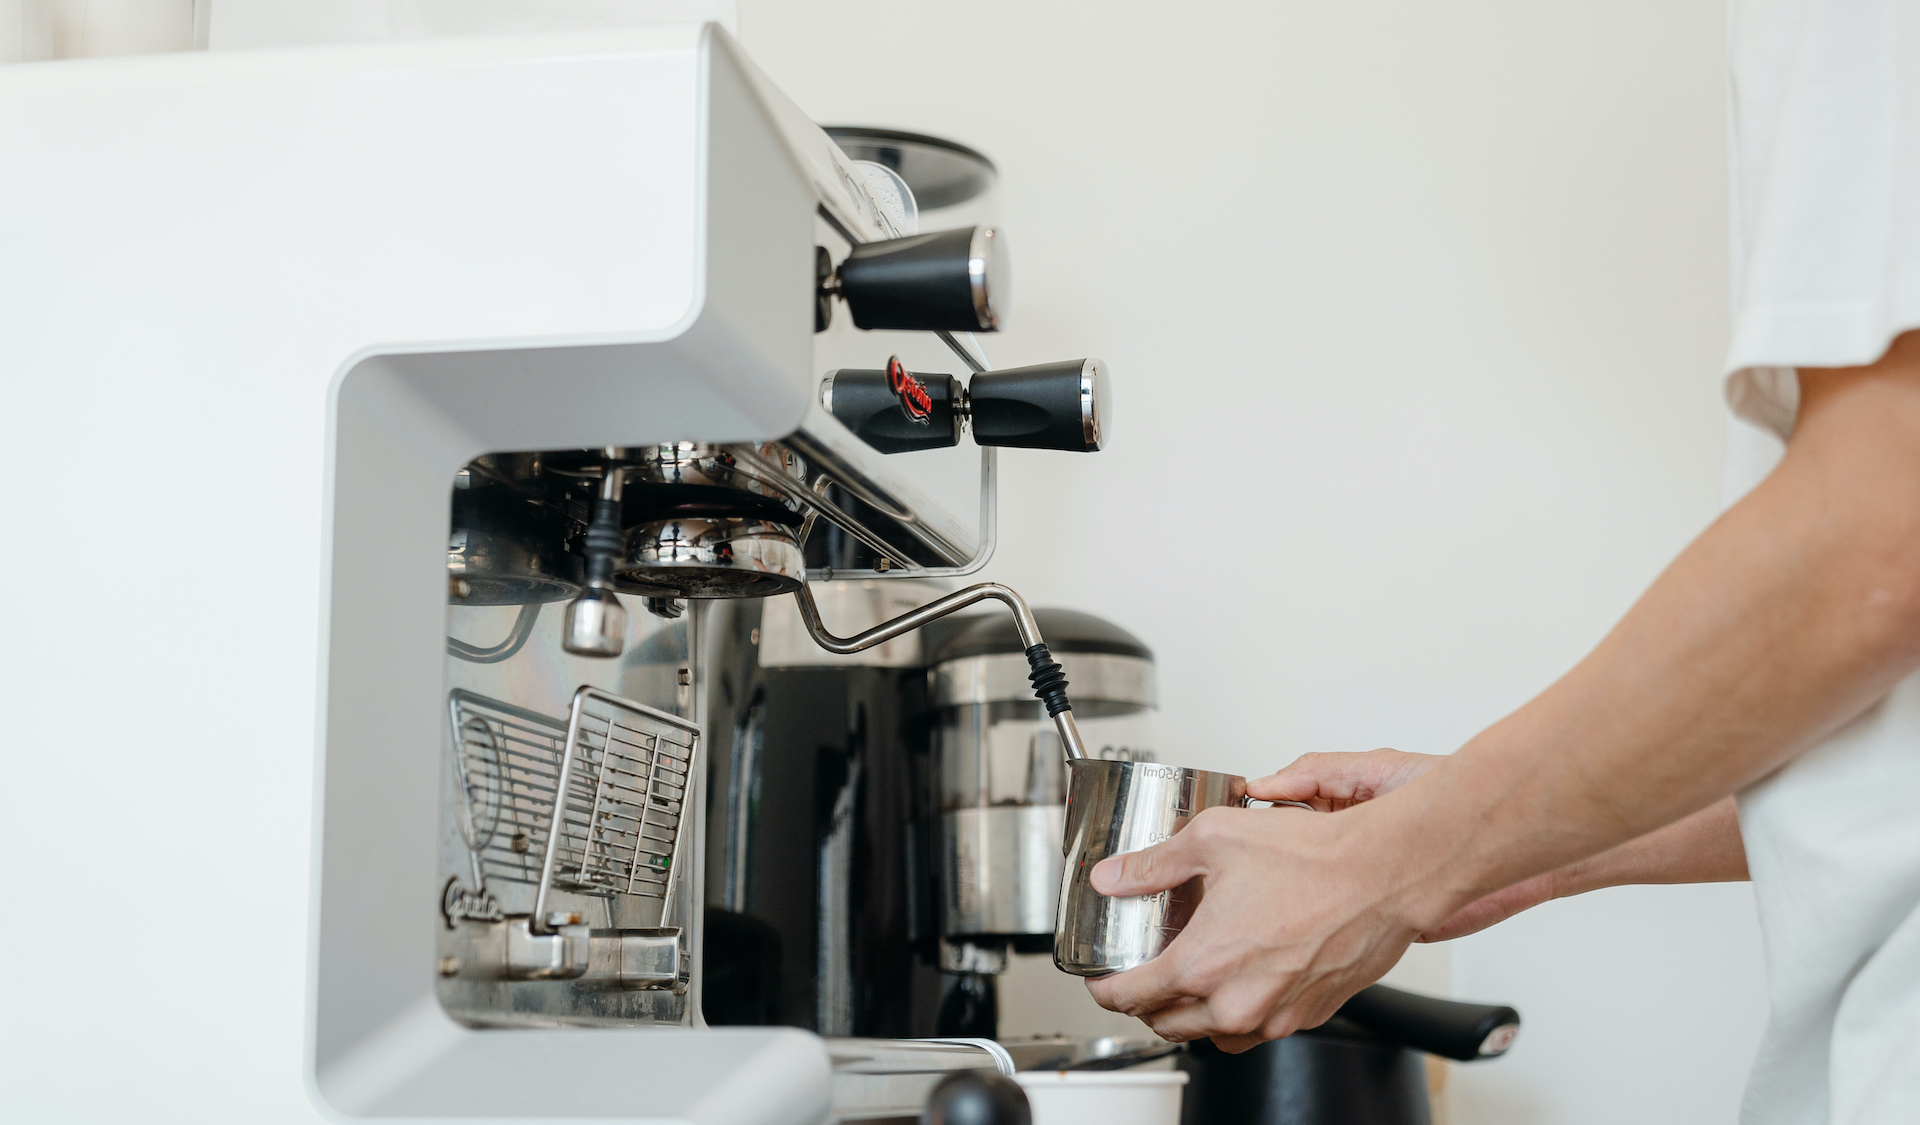
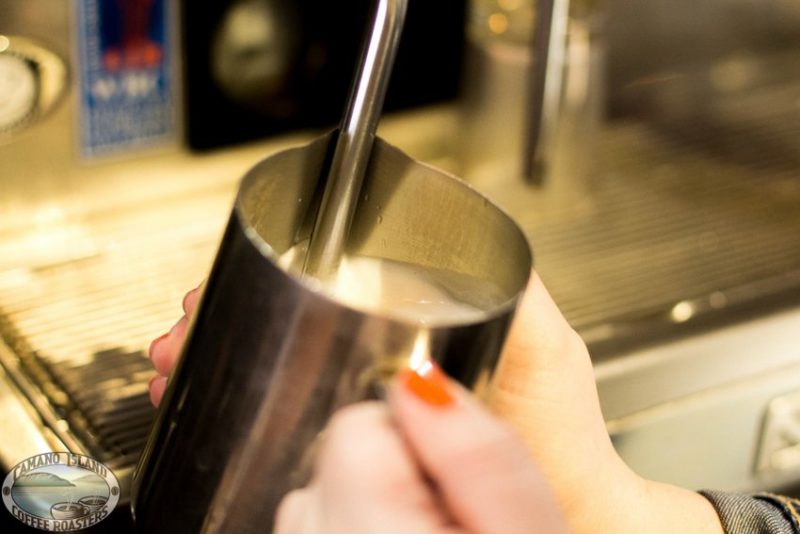
Before starting the steaming process, be sure to give a quick pull on the handle to bleed the steam wand. This removes any water from the wand. Once you’ve done this, submerge the wand in the milk and begin to steam. Slowly lower the pitcher so just the tip is submerged. Small microfoam will begin to form and the milk will expand. Do this slowly so that no large bubbles are created. The milk should swirl like a whirlpool and incorporate the microfoam into the pitcher of milk. Slowly continue to draw the pitcher down until you have your desired amount of foam. Now you can move the wand completely under the surface of the milk (but not touching the bottom of the pitcher) and hold steady.
Achieving Optimum Temperature

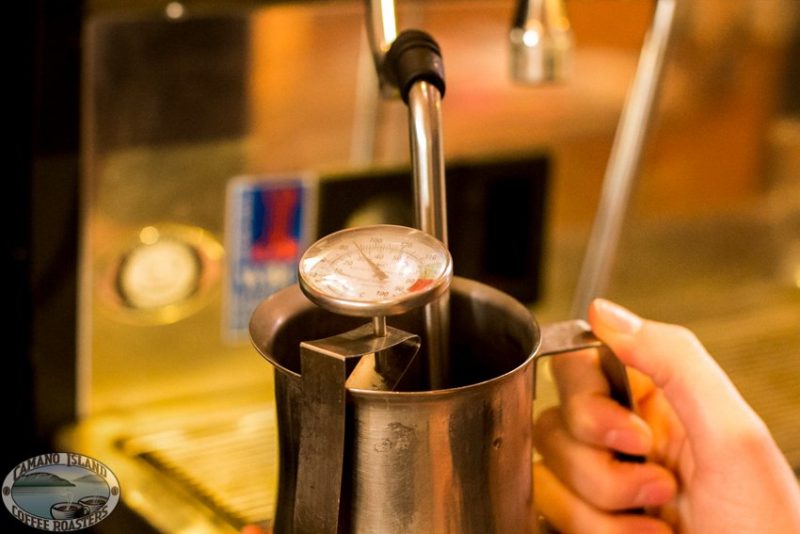
We recommend the use of a thermometer to make sure your milk is the perfect temperature of 160 degrees. To achieve this optimum temperature steam your milk until your thermometer reaches 150 degrees, then shut off the steamwand. The milk will continue to heat a few more degrees once you shut off the steam, hitting the desired temperature of 160 degrees.

Finish

Remove the pitcher from the wand, bleed the steamer once more, and wipe clean with a damp towel. This clears away any milk residue that may be left behind, so your machine will always steam properly and stay completely clean inside.