Brew Guide: Chemex
The Chemex was invented in 1941 by German scientist Dr. Peter Schlumbohm. What began as an experiment with basic laboratory tools came to be one of the most classic brew vessels in history. In fact, the Smithsonian, the Museum of Modern Art, and many other museums have the Chemex on permanent display because of it’s rich history and beautiful design. The Chemex might look more like a high school chemistry beaker, but trust us when we say this beauty will give you the smoothest cup of coffee.
Brewing with a Chemex is easy and only takes about 12 minutes.
What You Need
- Chemex
- Pre-folded Chemex Filters
- Water
- Coffee
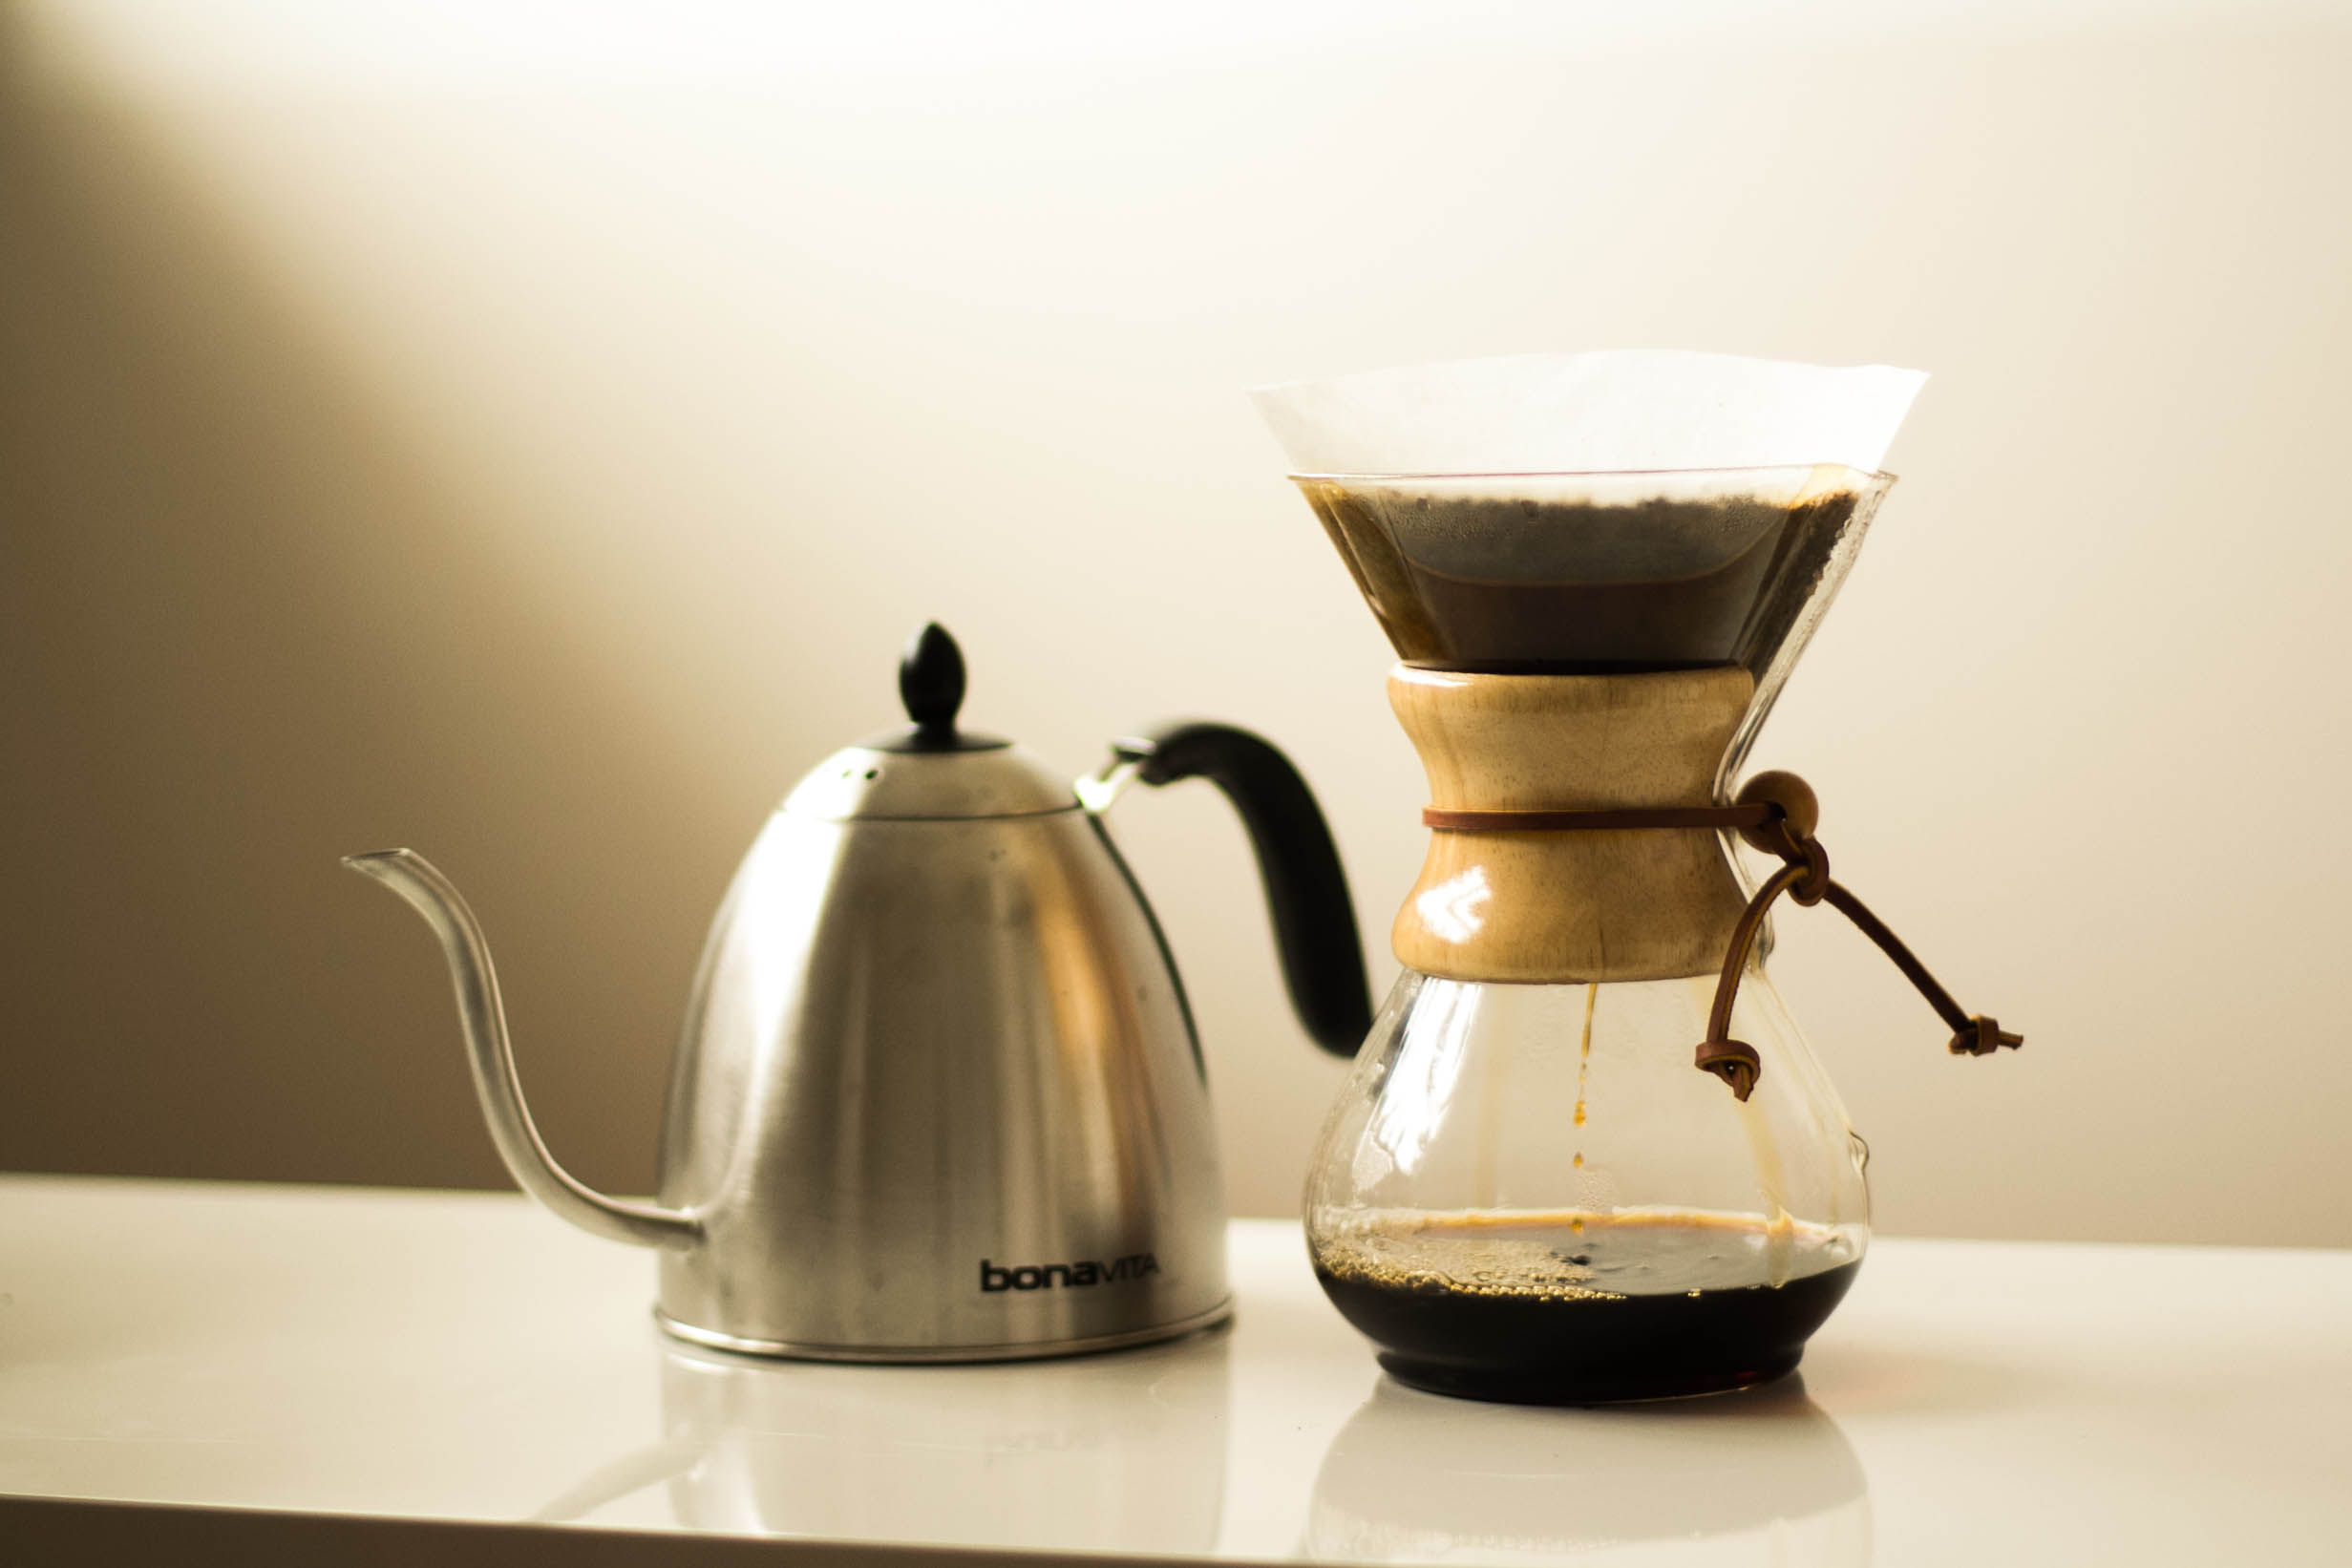
- Gooseneck Kettle
- Grinder
Amounts:
- 4 tbsp coffee and 3 cups water
- 6 tbsp coffee and 6 cups water
- 8 tbsp coffee and 8 cups water
- 10 tbsp coffee and 10 cups water
- 32 grams coffee and 444 grams water
- 48 grams coffee and 880 grams water
- 64 grams coffee and 1182 grams water
- 80 grams coffee and 1478 grams water
Grounds:

Grind your coffee on a coarse grind – for industrial grinders, a #9 setting – to get the best cup of Chemex. If your grind is too fine, it’ll back up the filter and cause it to rip. We learned this the hard and messy way!
Water:

Bring your water to a boil and then remove from heat. Never pour boiling water straight onto coffee grounds – it will scorch them and give your coffee a burnt flavor. Allow the water to cool for 30 seconds (the temperature should be between 195-205) before you proceed to the next step
Filter:
Chemex filters are a bit unusual. As much as you’ll want to, don’t unfold it all the way. Instead, pull just one edge away from the three others. Now your filter will resemble a normal pour-over filter. There will be one edge on one side, and three on the other. Set it into the Chemex with the crease sitting in the pouring channel. Cone filters you use for pour-over, like a #4 or #6, won’t fit properly in a Chemex and are too thin to properly filter for Chemex. Only use Chemex filters.
Use your hot water to give the filter a quick rinse, which removes any papery taste that the filter might add to your coffee. This hot water will also heat the carafe – keeping your coffee hotter for longer. Dump out the excess water before beginning your brew.


To add grounds, measure your desired amount and pour them into your filter. Gently shake the Chemex to level out your grounds. You’re now ready to start the brewing process.
Begin pouring the water over the grounds in a circular pattern, until the water has barely covered the grounds. Let it bloom for 30 seconds.


After the bloom, continue pouring water in a circular motion until the water is about a quarter-inch below the top of the Chemex. Be careful to wait for the water to filter through before pouring more. It’s easy to get carried away and pour too much water. Continue to pour until you’ve used all your water.