Brew Guide: Turkish Coffee
Coffee is a huge part of Turkish culture. In fact, traditional houses include special “coffee rooms” specifically for brewing and drinking coffee. In the 17th century, the Turks were spending more time drinking coffee than going to the mosques to pray, so the government made coffee illegal. This, however, didn’t stop the Turks from drinking coffee, and to this day it remains a rich part of their culture.
This brew is difficult, but only takes about 7 minutes.
What You Need
- Coffee
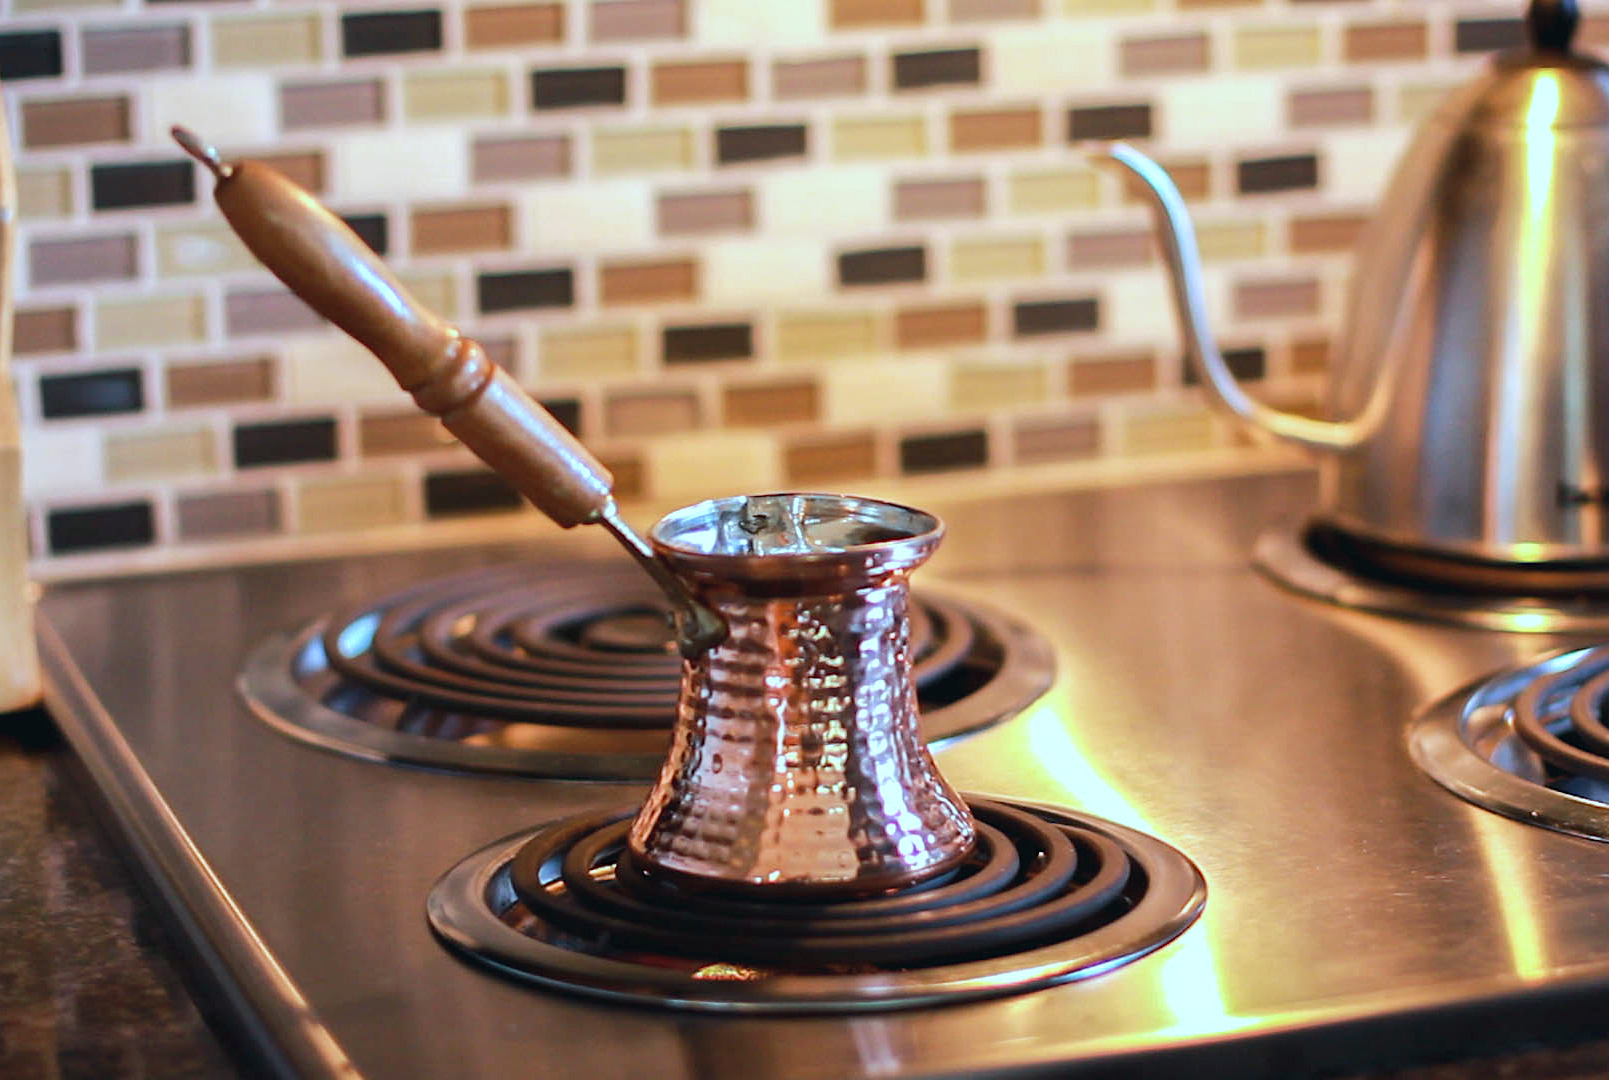
- Ibrik
- Sugar (Optional)
- Grinder or Turkish Grinder
- Water
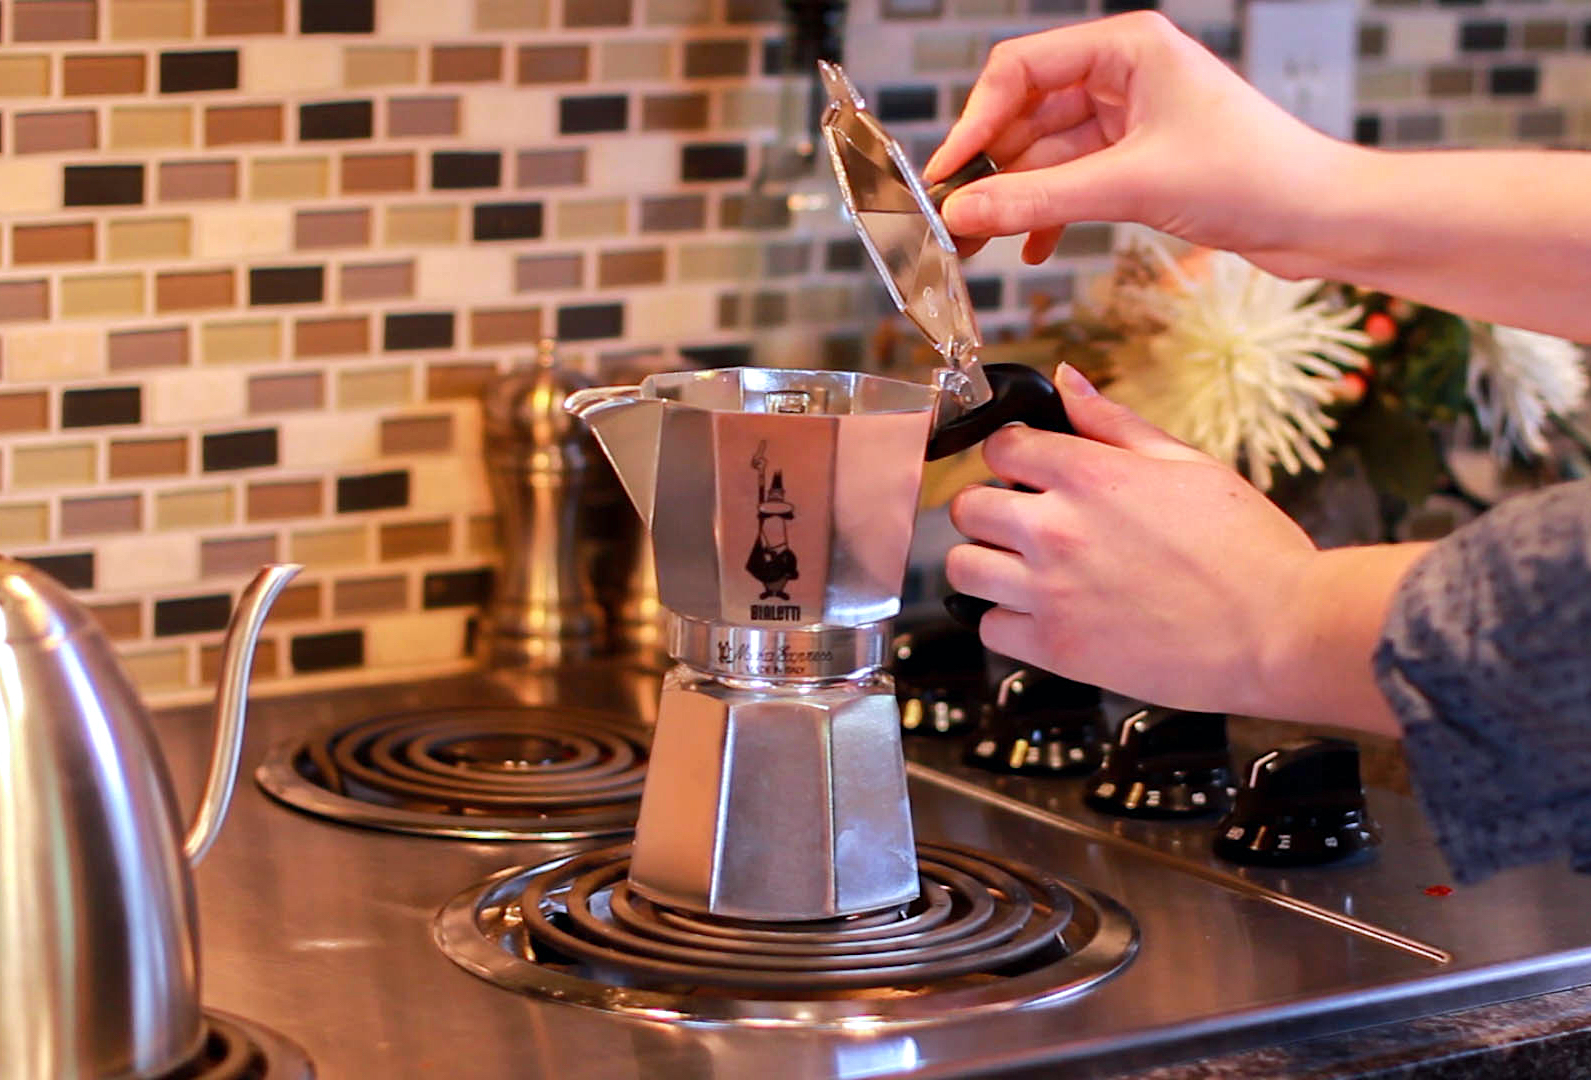
Tools
The ibrik comes in many sizes. A finished cup of turkish is considered 3oz, so the amount of water you use depends on the size of your ibrik and the number of cups you’re serving. You should never fill the ibrik past the neck. Technically, one cup is a tad bit more than 3oz, but we’re using that measurement just to keep things simple.

Grounds
For every 1 cup of water, you should use 1 tablespoon of turkish-ground coffee, which is extremely fine. The best way to get this fine of a grind is to purchase a turkish grinder, but you can also get a similar grind by putting your grinder on the finest setting possible. You’ll find most industrial machines have a turkish setting.

Water/Adding Coffee
Put the water into your ibrik and place it on medium heat. Wait roughly 2 minutes, and then add the grounds into the ibrik. Do not stir the grounds.
Sugar is added by some people who know they prefer it in their brew. If you would like to do this, add sugar on top right after you add the coffee. We recommend a teaspoon to start and you can adjust accordingly next time you brew based on your preferences. Again, do not stir.


Brewing
Once the coffee starts sinking and the sugar begins to dissolve, you can give the coffee a few quick stirs and turn down the heat just a bit. Your coffee will soon begin to bubble a bit on the surface. When you see small bubbles, make sure you turn down the heat even lower. Keep a close eye on your brew – don’t let it boil. A froth will start to rise to the surface. When it does this, remove from heat and let it settle. Once the froth has gone down, put it back on the heat and let it rise once more. Some prefer to let it rise and fall 3-4 times, but we recommend only twice.

Pouring
Take care when pouring your turkish coffee from the ibrik – Give it a quick initial pour to get the foam, then slow down so most the coffee grounds will stay in the bottom of the vessel and not fall into your cup.
Enjoy
Let it sit for a minute or two, so any grounds that might have slipped into your cup can settle at the bottom. Sit back and enjoy.