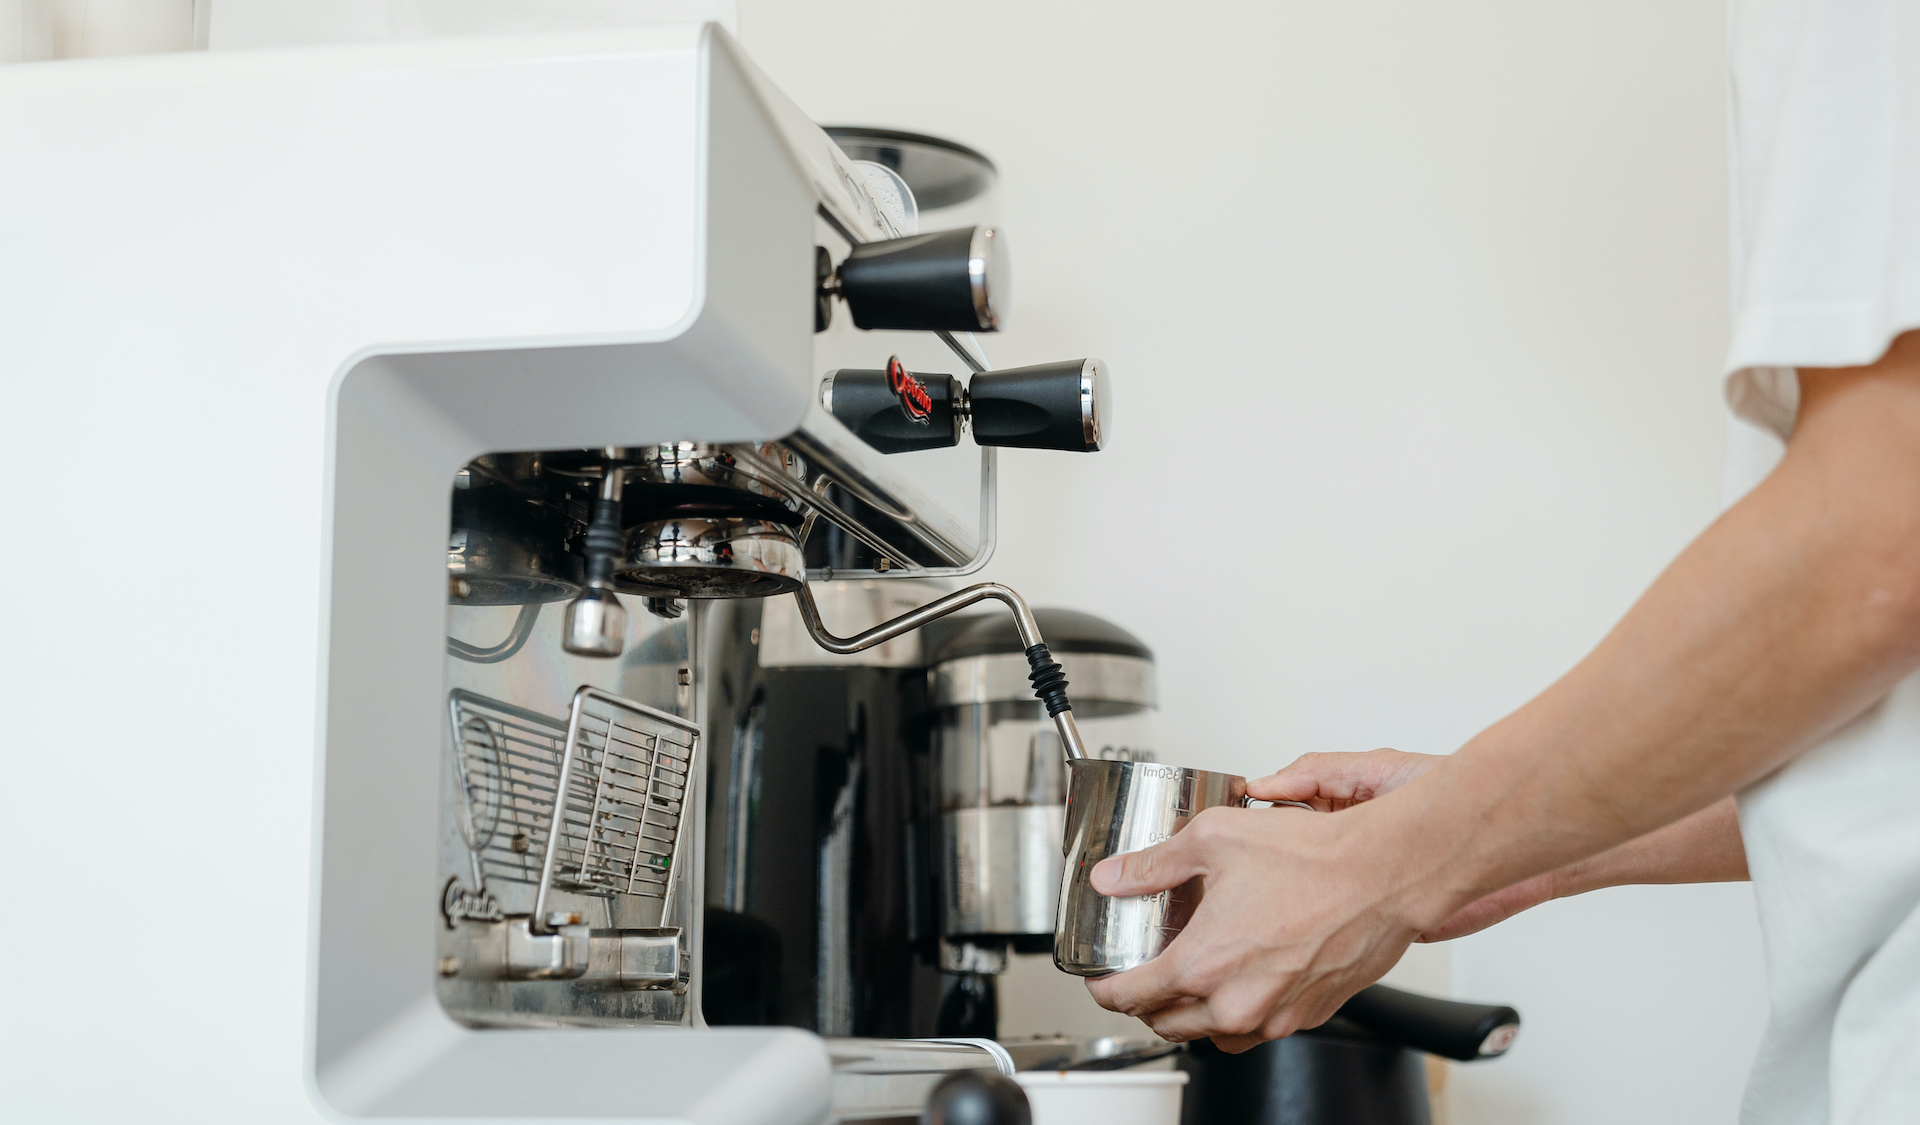
Brew Guide: Steamed Milk
The art of steaming milk is tricky, but worth the dedication required to learn. Keep a close eye on all the small details, and with practice you can become a true pro.
Steaming milk can be difficult, and takes around 4 minutes to do.
What You Need
- Milk
- Espresso Machine with a steamwand
- Pitcher
- Cloth
Pour Milk
To start, pour milk into your pitcher till it’s about half full. You will need the extra room to properly steam your milk and achieve fantastic foam.

Steaming Your Milk
Before starting the steaming process, be sure to give a quick pull on the handle to bleed the steam wand. This removes any water from the wand. Once you’ve done this, submerge the wand in the milk and begin to steam. Slowly lower the pitcher so just the tip is submerged. Small microfoam will begin to form and the milk will expand. Do this slowly so that no large bubbles are created. The milk should swirl like a whirlpool and incorporate the microfoam into the pitcher of milk. Slowly continue to draw the pitcher down until you have your desired amount of foam. Now you can move the wand completely under the surface of the milk (but not touching the bottom of the pitcher) and hold steady.


Achieving Optimum Temperature
We recommend the use of a thermometer to make sure your milk is the perfect temperature of 160 degrees. To achieve this optimum temperature steam your milk until your thermometer reaches 150 degrees, then shut off the steamwand. The milk will continue to heat a few more degrees once you shut off the steam, hitting the desired temperature of 160 degrees.

Finish
Remove the pitcher from the wand, bleed the steamer once more, and wipe clean with a damp towel. This clears away any milk residue that may be left behind, so your machine will always steam properly and stay completely clean inside.

Will you please share tips/how-to for frothing non-dairy milks (oat/soy)?