Posted on 5 Comments

Brew Guide: French Press

Brew Guide: French Press

The exact origin of the French Press has been subject to much debate. Folklore says it was an elderly frenchman in the 1850’s, while the Italians claim to have produced the most functional model in the early 1900’s. Of course, the fight to take the credit is understandable, as French Press is one of the most-loved brew methods around the world. For this brew, we used a Bodum 32oz. french press.

Brewing with a French Press is easy, and will take you about 12 minutes.

What You Need

  • French Press
  • Coffee
  • Water
  • Wood Stirrer
  • Gooseneck Kettle
  • Grinder

Amounts 

  • 4 tbsp coffee & 16oz water
  • 8 tbsp coffee & 32oz water
  • 32 grams coffee & 473 grams water
  • 64 grams coffee & 946 grams water
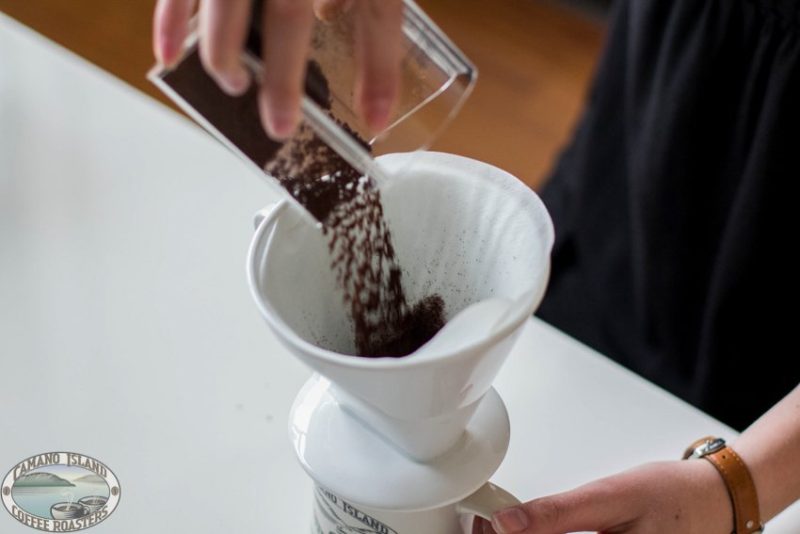
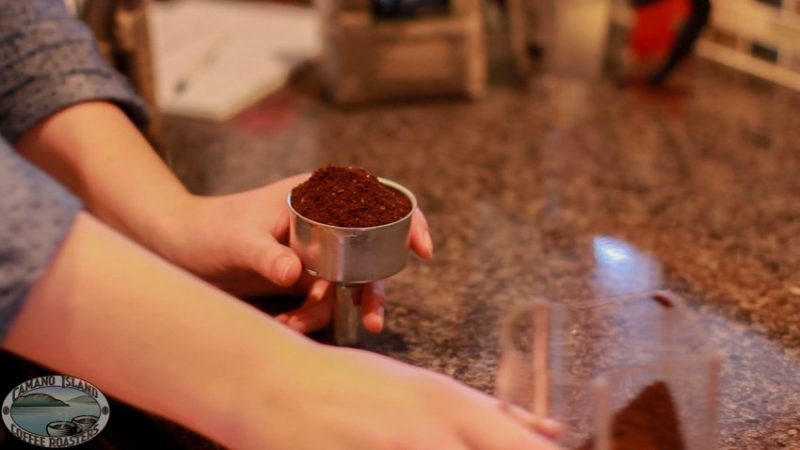
Grounds

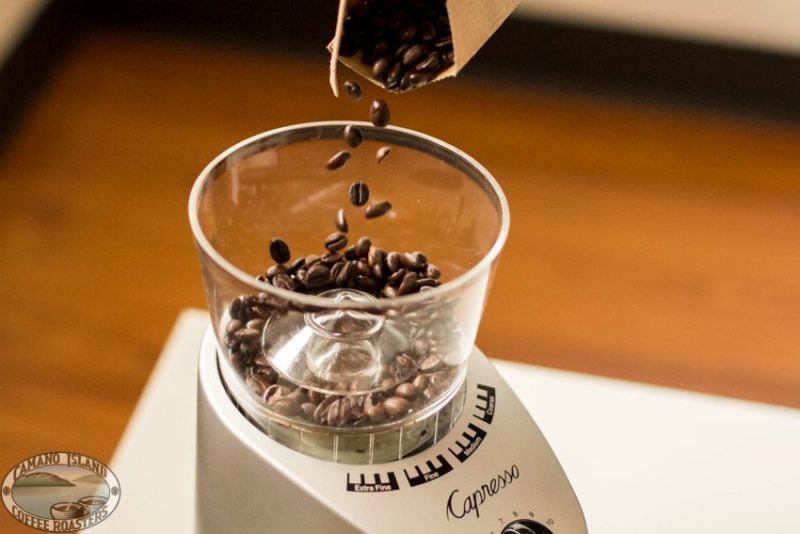
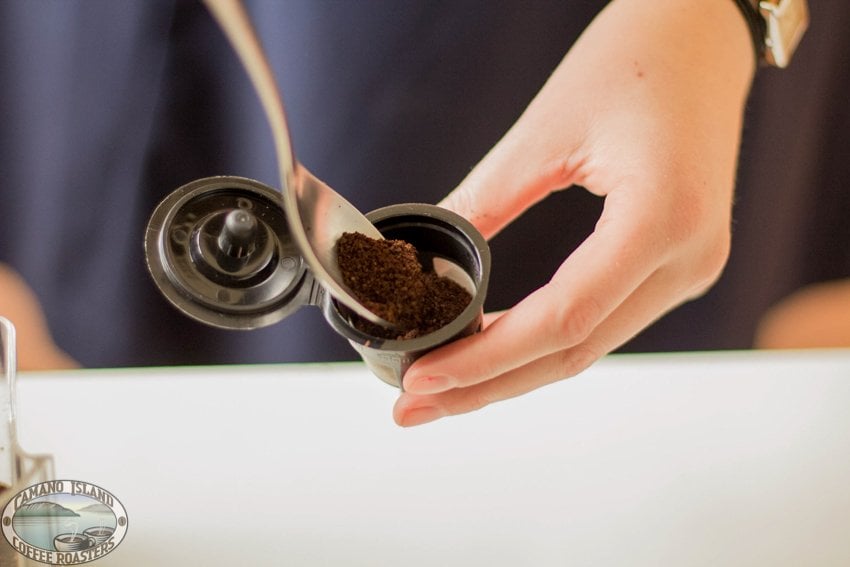
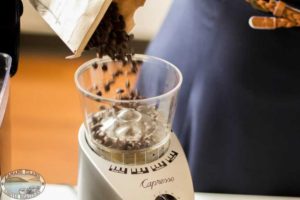
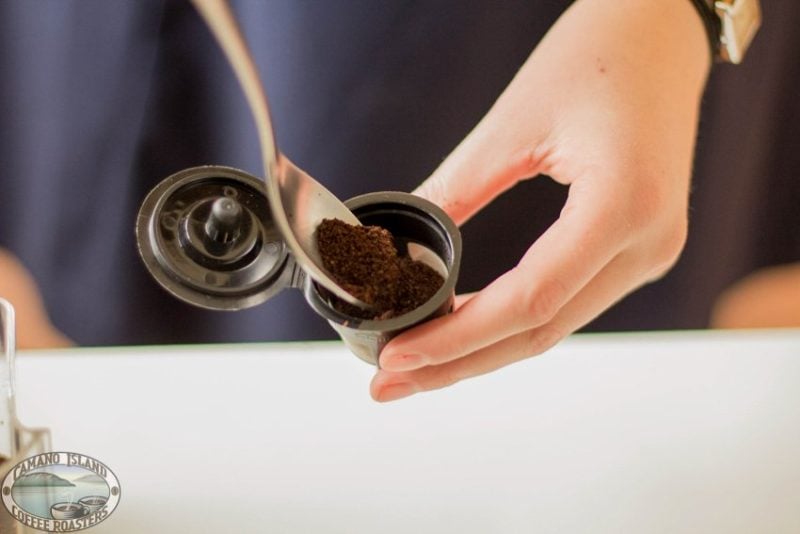
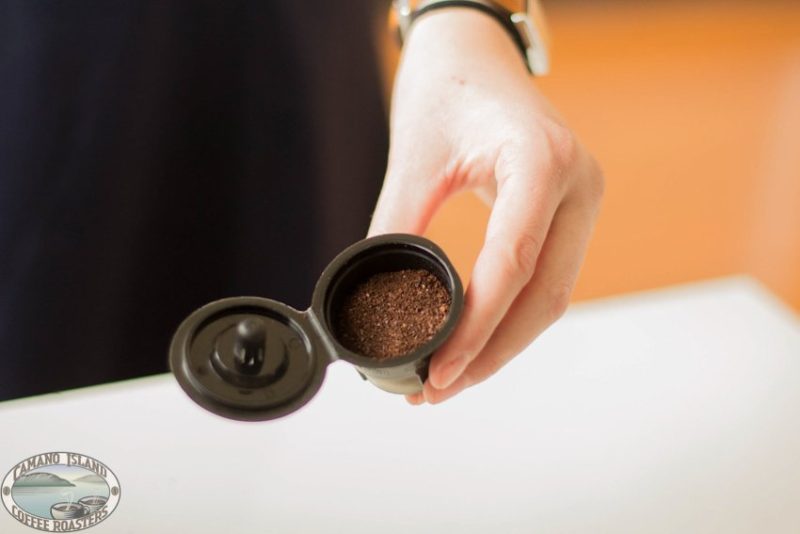
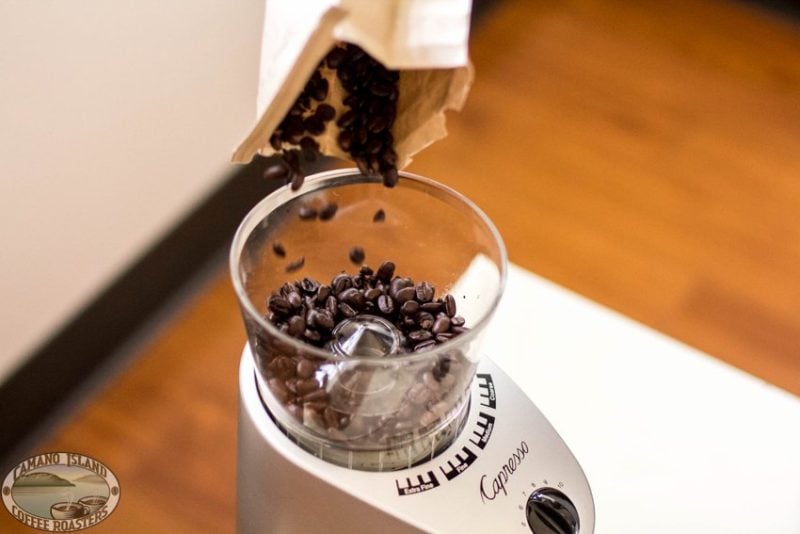
To start, we suggest a ratio of 2 tablespoons of grounds for every 8oz of water. The coffee should be ground on the coarsest setting – a #9 on an industrial grinder. If your grounds are too fine, you will get “muddy” coffee in your press.
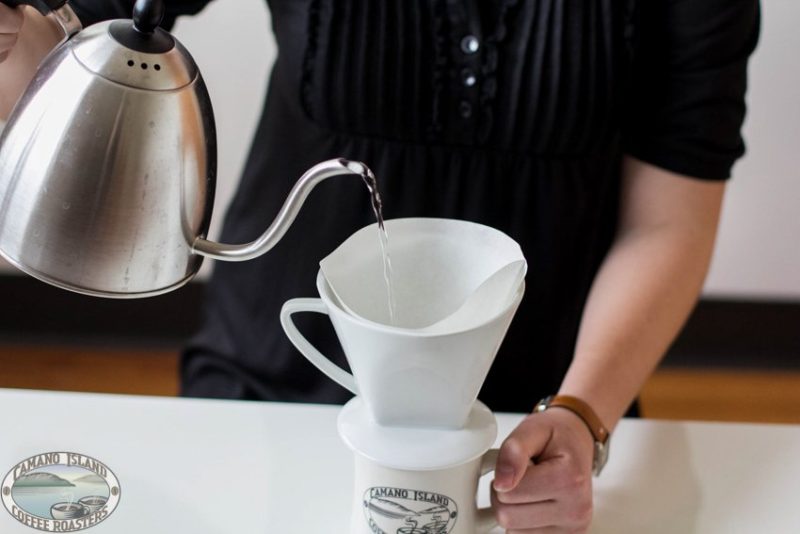
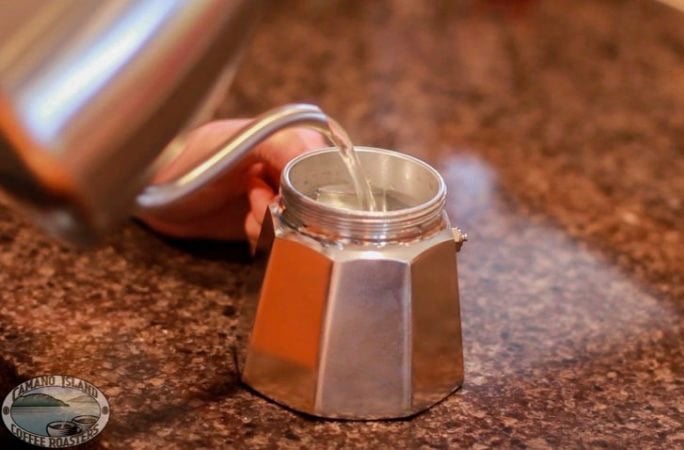
Water

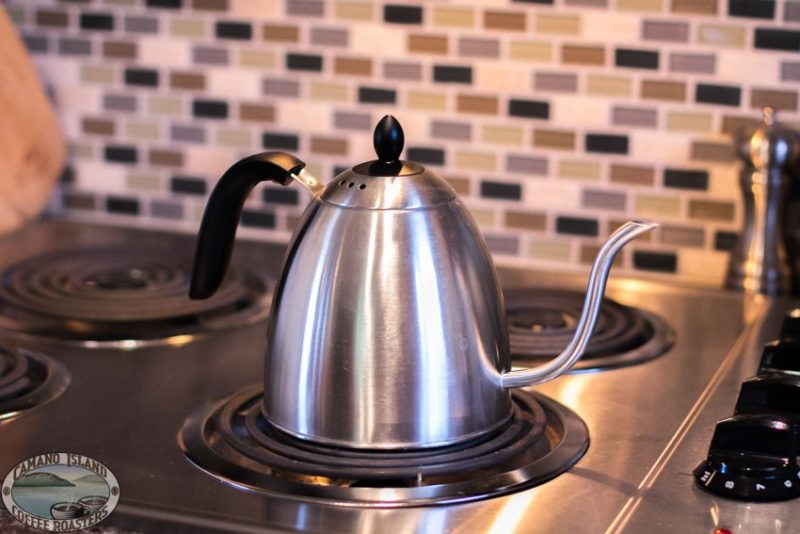
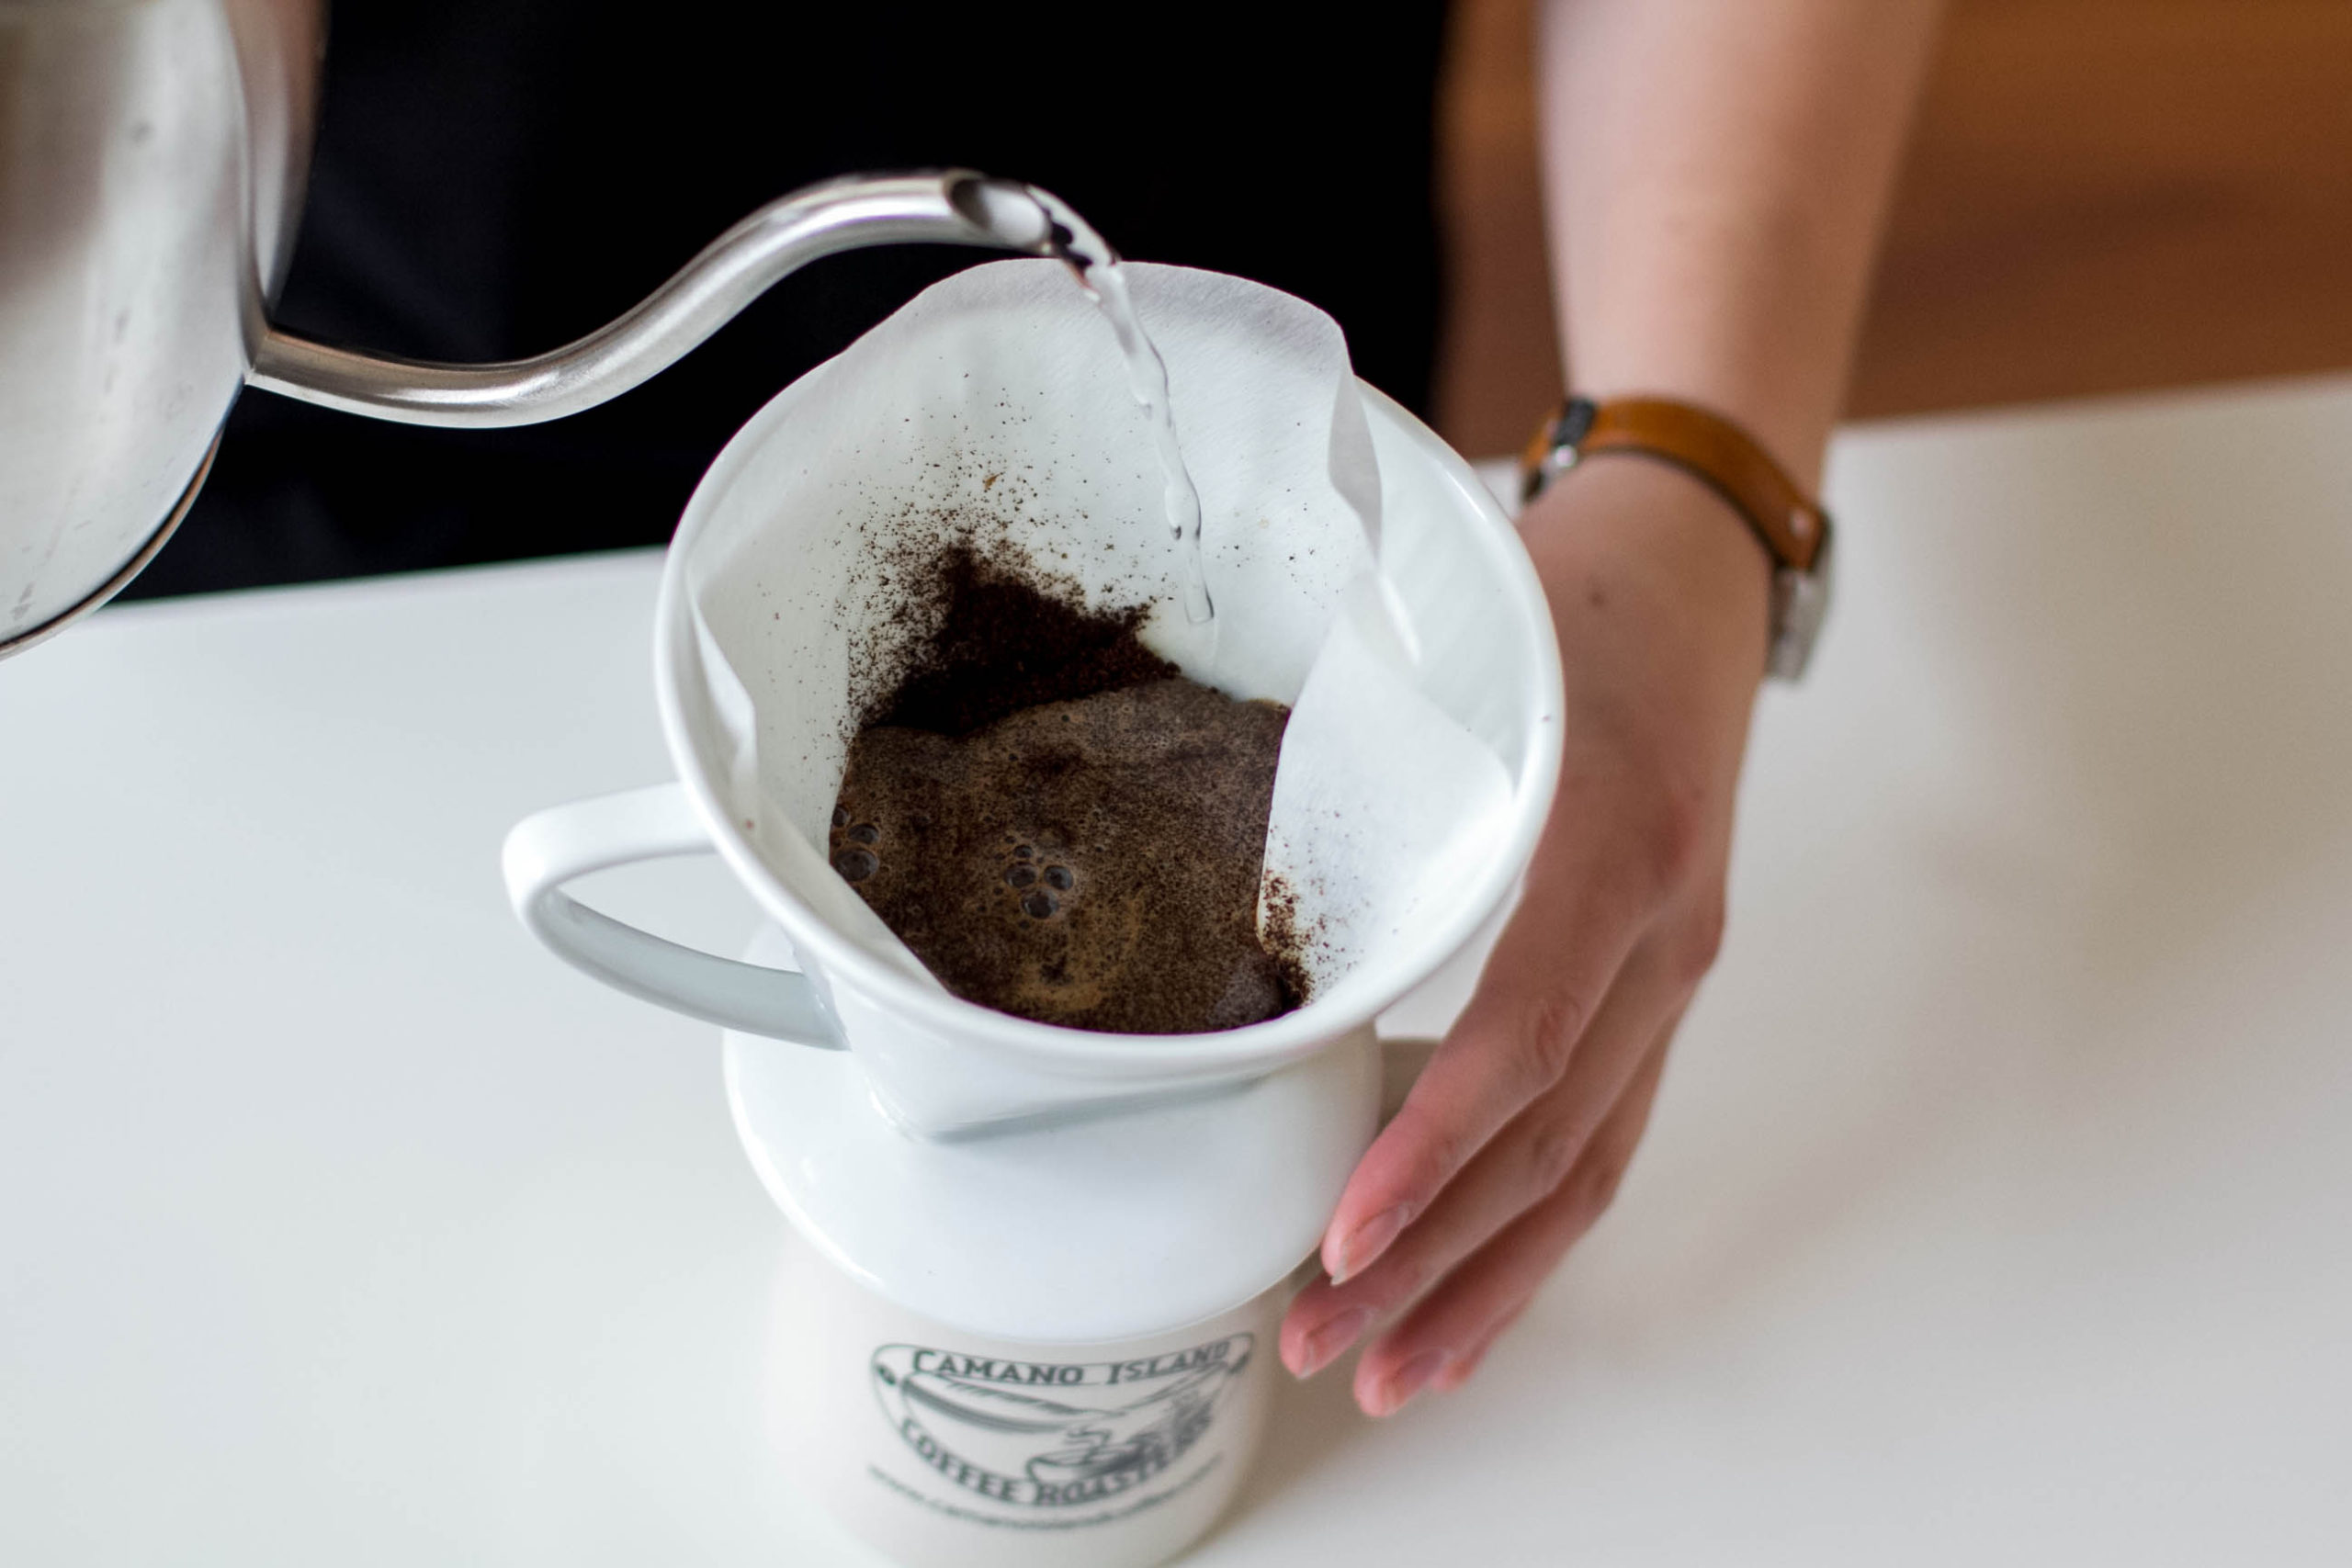
Heat your water until it’s boiling, and then remove from the heat source for 30 seconds before pouring (boiling water will burn your grounds and ruin your drink!) – The best temperature for brewing is between 195-205 degrees.
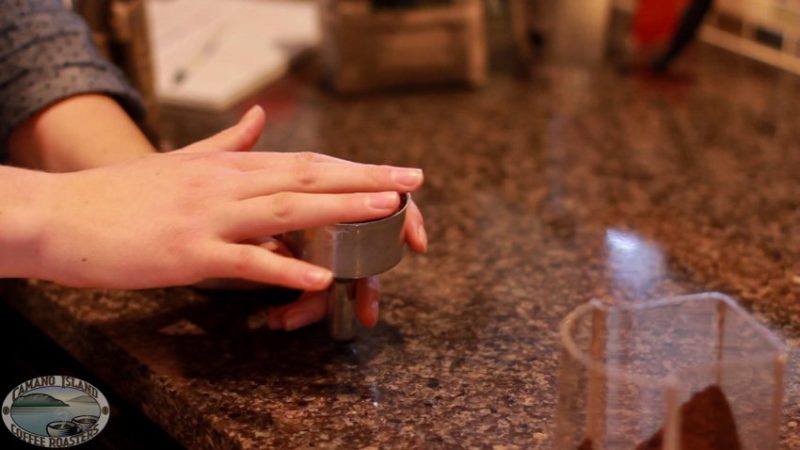
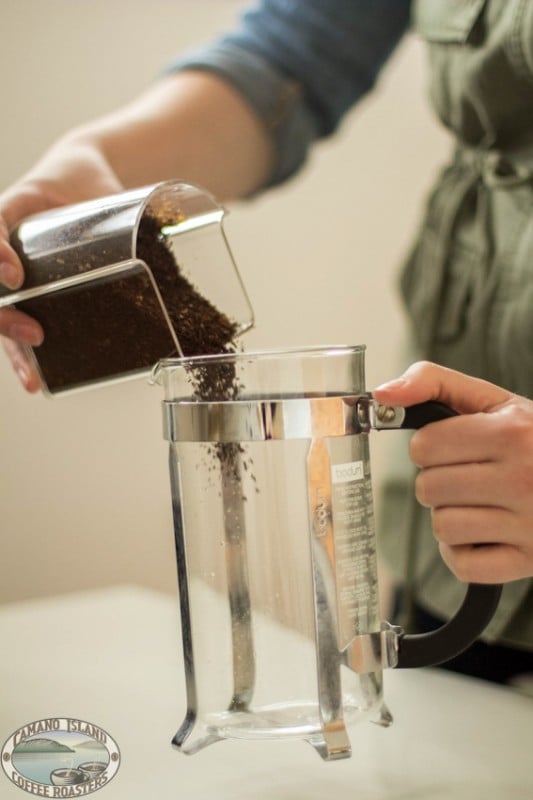
Adding Grounds

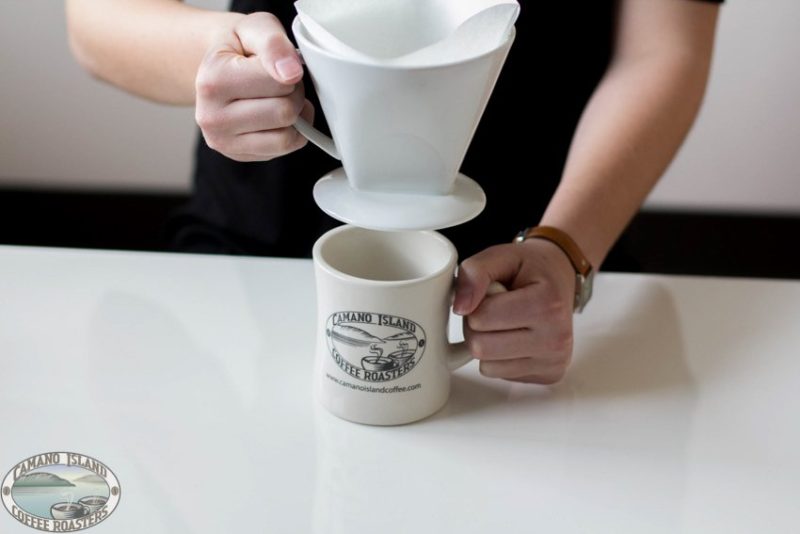
Drop the grounds into the french press, and pour enough water over them until they are fully covered.
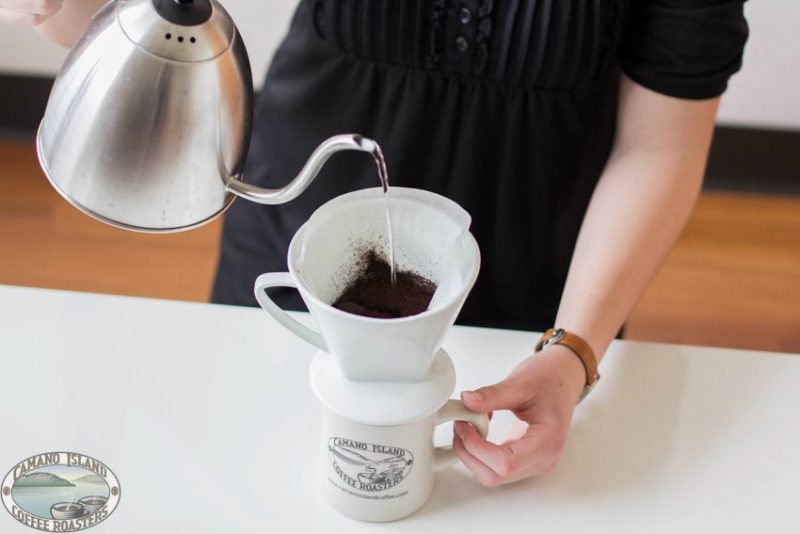
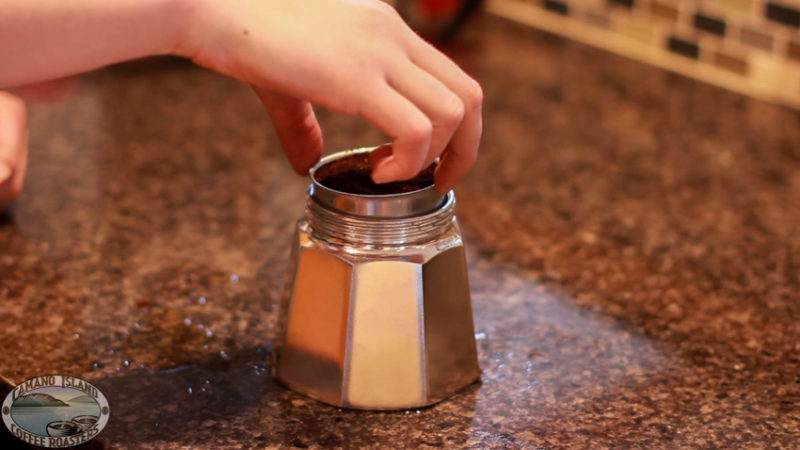
Bloom

Pause and let the coffee bloom for 45 seconds.
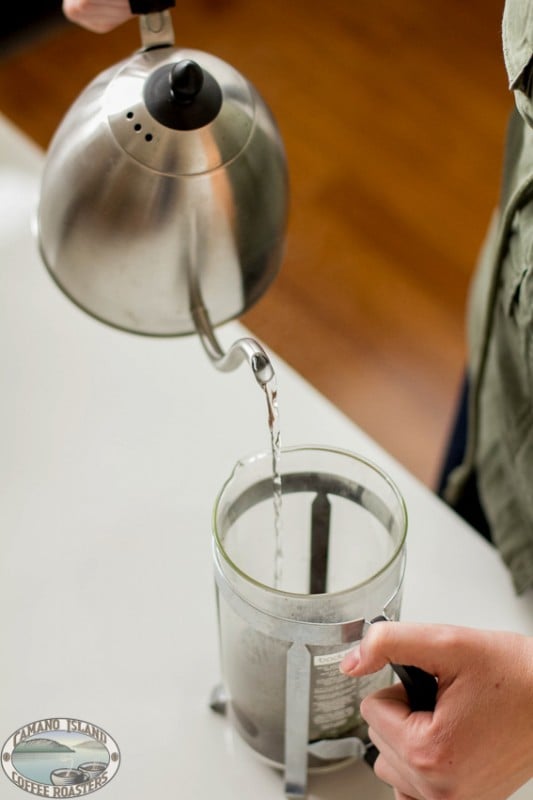
Adding Water

Continue to pour the rest of your water into the press. You can now let it brew for 3-5 minutes (personally, we think 4 minutes is the perfect time, but it’s all about your own taste preference).
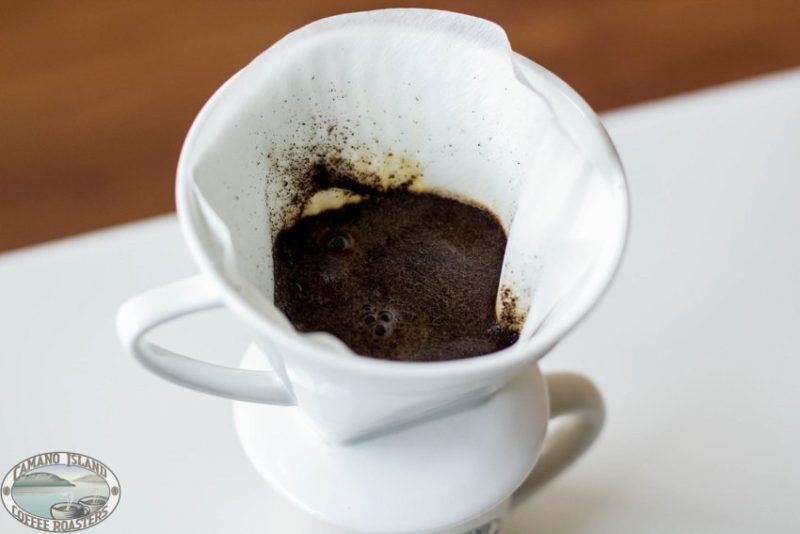
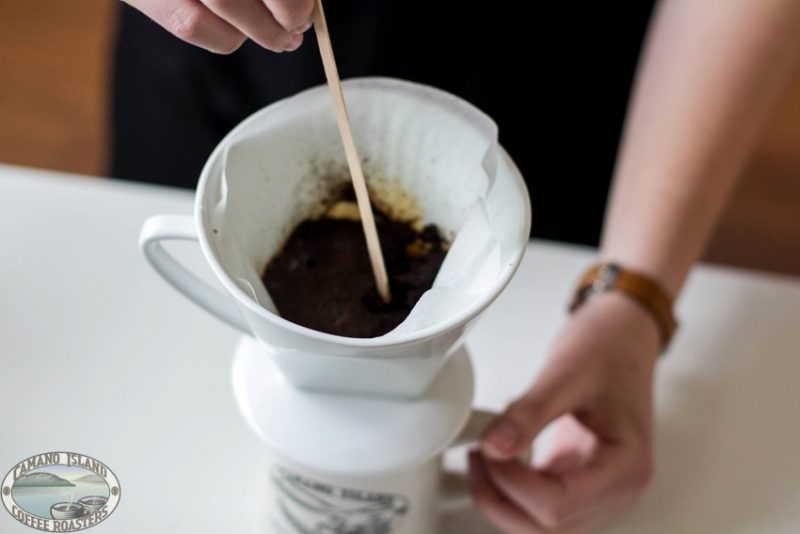
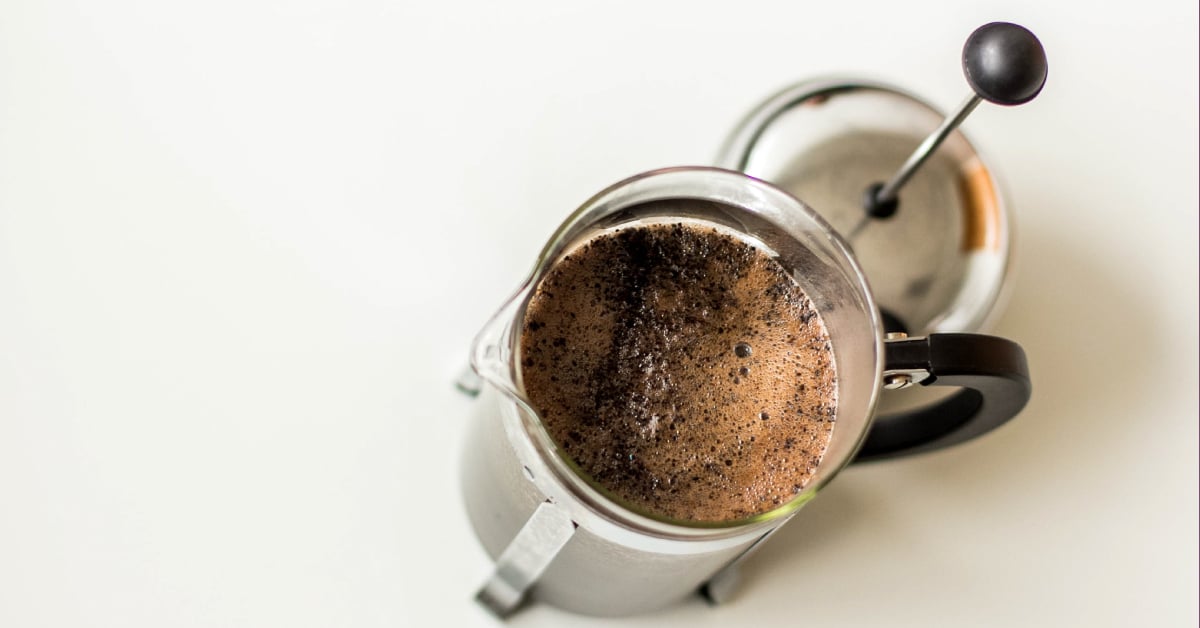
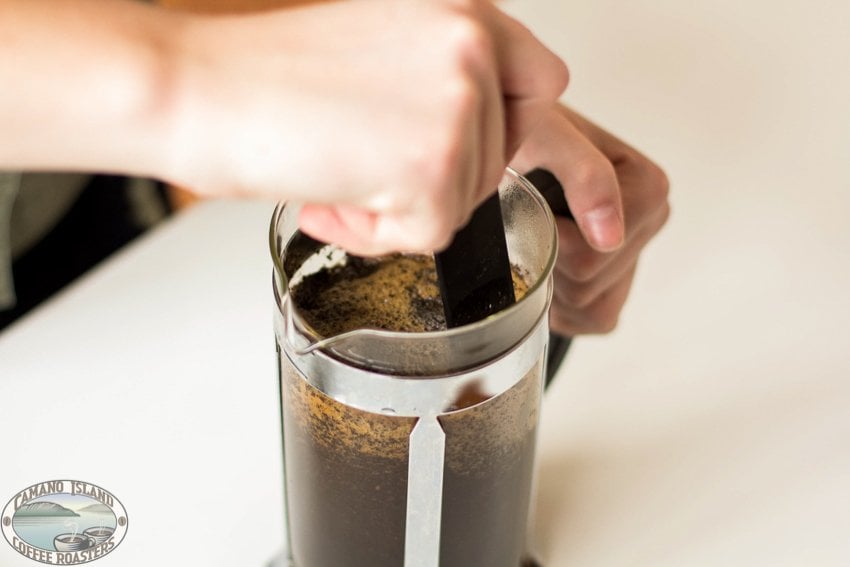
Breaking the Crust

Once the time is up, use a small bamboo paddle or chopstick (not metal – you don’t want to crack the glass) to break the crust and give the grounds a quick stir.

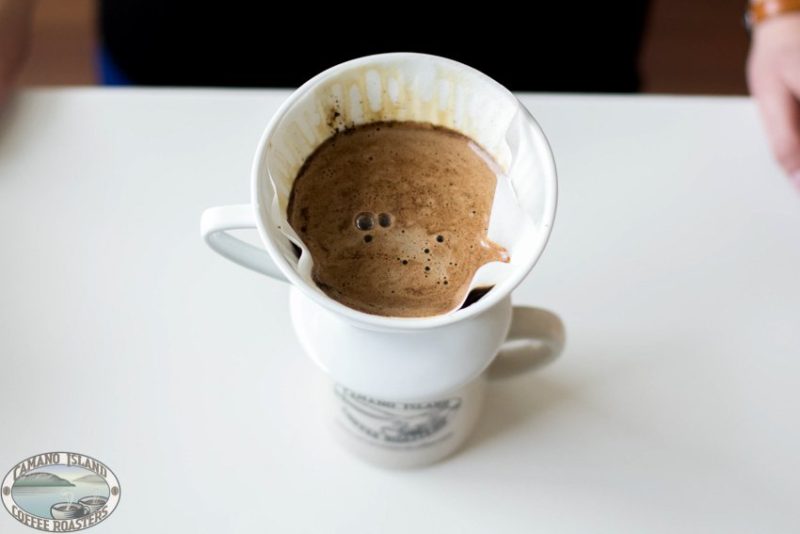
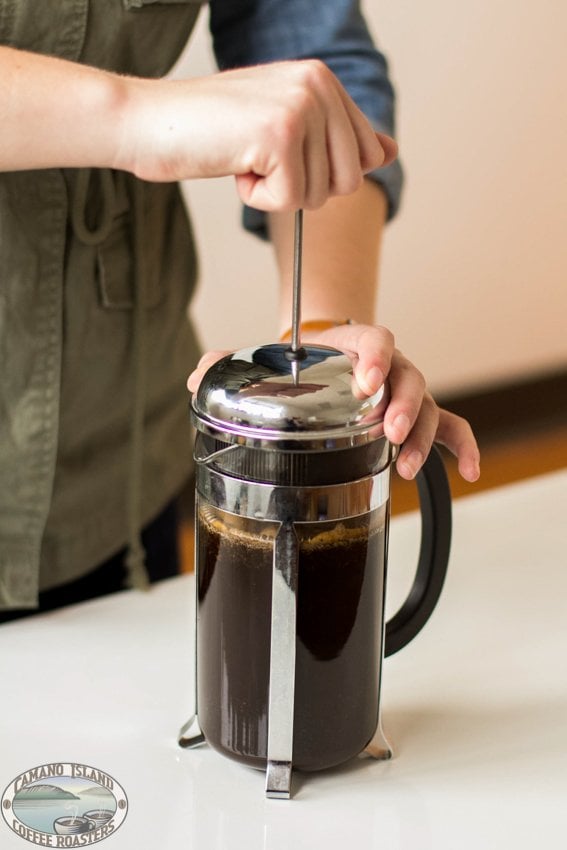
Now you can put on the lid and press! There should be a small amount of resistance, but not much. If it is difficult to push down, your grounds are probably a bit too fine. If it seems way too easy to press, perhaps your grounds are too coarse.
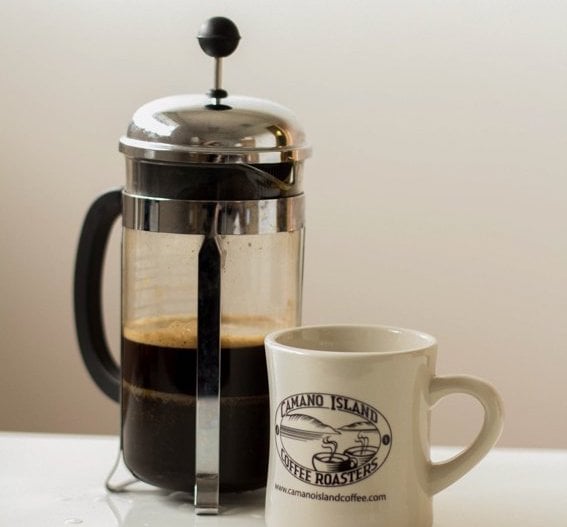
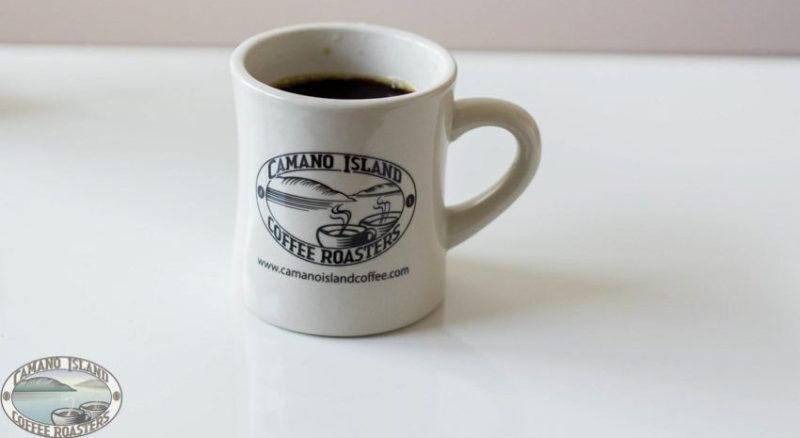
Enjoy!

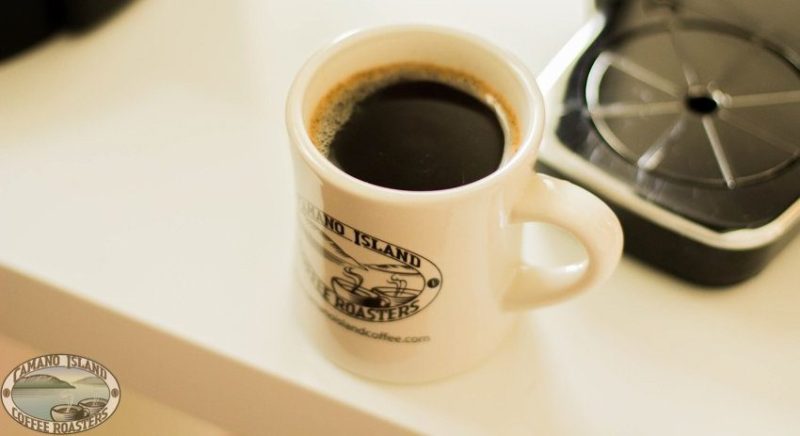
Pour into your favorite mug and enjoy your marvelous cup of delicious french press.

Posted on 6 Comments

Brew Guide: Keurig

Brew Guide: Keurig

The Keurig is one of America’s new favorite ways to brew single-serve coffee. It’s fast and easy, but all those disposable K-cups can be harmful to the environment and your wallet.  How can you avoid these problems? By using a refillable filter like the Solofill, you can save money and do your part to care for our environment.

Using a Keurig is really easy and only takes about 5 minutes.

What You Need

  • Keurig
  • Solofill
  • Water
  • Coffee
  • Burr Grinder

Amounts

For a 6 oz cup, scoop 1 tablespoon grounds into the filter.  For an 8 oz cup, use 2 tablespoons.

Grounds

First, you’ll want your coffee ground to a medium grind – a #6 on an industrial grinder. This is important, because a course grind will produce a weak coffee, but a fine grind will clog the machine.

Filter

Use a spoon to scoop the grounds into the filter, and run your finger around the rim to clear any grounds. By removing the excess grounds, you are ensuring the lid seals properly and therefore preventing it from making a big mess – you don’t want to learn this the hard way!

Brew

Once you’re ready, close the top of the lid and place your favorite coffee mug underneath the spout. Press the “Brew” button and in just a minute you can enjoy your fresh Camano Island Coffee!

Final Steps

You might be tempted to try to brew twice using the same grounds, but don’t do it! The second round will taste like coffee-tinged water.  Simply let the used grounds cool a bit, dump them out, give the filter a quick rinse, and you’re ready to brew another cup.

Enjoy

Sit back, relax, and enjoy the simplicity of the Keurig matched with the taste of your favorite Camano Island Coffee.

Posted on 4 Comments

Brew Guide: Pour-Over

Brew Guide: Pour-Over

Over the past few centuries, many different inventors and coffee companies have developed their own unique method to Pour-Over coffee. By changing the size of the hole and the pattern of the interior ridges, companies have developed different Pour-Over models that all produce their own unique cup of coffee. For this brew, we used a German “Cilio” pour-over with a size #4 filter.

Pour-Over is extremely easy, and should only take about 10 minutes.

What You Need

  • Pour-Over
  • Filter
  • Coffee
  • Water
  • Wooden Stirrer
  • Gooseneck Kettle
  • Grinder

AMOUNTS

  • 3 tbsp coffee & 12 oz water
  • 4 tbsp coffee & 16 oz water
  • 5 tbsp coffee & 20 oz water
  • 6 tbsp coffee & 24 oz water
  • 24 grams coffee & 355 grams water
  • 32 grams coffee & 473 grams water
  • 40 grams coffee & 591 grams water
  • 48 grams coffee & 709 grams water

Grounds

To start out, measure out your Camano Island Coffee and set your grinder to a medium-fine grind. Also, that’s #5 or autodrip on an industrial grinder.

Water

Bring your water to a boil and then remove from heat. Never pour boiling water straight onto coffee grounds – it will scorch them and give your coffee a burnt flavor. Allow the water to cool for 30 seconds (the temperature should be between 195-205 degrees) before you proceed to the next step.

Filter

Place your filter inside your pour-over, set it on top of your mug, and use hot water to give it a quick rinse. This gets rid of any papery taste the filter might add to the coffee, and warms your mug up, too. Dump out the excess water.

Adding Grounds: Drop the grounds into the filter and give it a small shake so they are distributed evenly.

Pouring: Grab your kettle and begin pouring the water in a slow, circular motion outward from the center. Only pour until the grounds are slightly covered with water, then stop.

Bloom: Let the grounds bloom for 45 seconds, then use a small wooden paddle or chopstick to give the grounds a quick stir. By stirring the grounds you are ensuring they are evenly covered with water, which helps create an even extraction.

2nd Pouring: Continue to pour water in the same circular motion over your coffee until you’ve used all of your water. Remove Pour-Over once the drip has slowed to a near stop.

Enjoy!

You can now enjoy your fresh cup of Pour-Over coffee.

Posted on 4 Comments

Brew Guide: Moka Pot

Brew Guide: Moka Pot

Moka Pot was invented in 1933 when Italy’s economy wasn’t doing so swell. It was marketed as an affordable way to enjoy daily espresso at home, and thereby avoiding cafe prices. Today, many people still use the Moka Pot, and it’s known as one of the best ways to get “Stovetop Espresso.”

Moka Pot is a simple brew that takes about 15 minutes.

What You Need

  • Moka Pot
  • Coffee
  • Kettle
  • Grinder

Amounts

The amount of coffee you need depends on the size of your Moka Pot. You’ll want enough to fill the funnel filter of your pot without packing down the grounds. Moka Pots come in all shapes and sizes, so measure how much water fills the bottom half of your pot before beginning.

Grounds: Grind your beans on a medium grind, which is a #6 or Drip Flat on an industrial grinder.

Water: It’s not recommended that you boil your water directly in the Moka pot, because it might give it a metallic taste, so heat it in a separate kettle before beginning. Carefully pour the boiling water right into the bottom of the Moka Pot, filling it until the water line is even with the screw on the side.

Assembly/Adding Grounds: Put the grounds in the funnel filter, using your finger to even it out and remove excess coffee. Place the filter on the base, and screw the top half on. Caution: the base will be hot from the hot water, you might want to use a towel or hot mitt while you do this step.

coffee

Begin Brew: Open the lid and set the Moka Pot onto your stovetop on a medium setting. To avoid burning your pot, don’t turn the burner any hotter than medium. Also be careful not to have the handle directly over the flame, as it could melt if it gets too hot.

Continue Brewing: After a couple minutes, steam will start to push the water up through the grounds and into the top chamber. As soon as this starts, place the lid onto the pot. (Note: Sometimes if the grounds are too coarse, the water will shoot up out of the pot. If this happens, be careful that you don’t get burned and try a finer grind the next time you brew).

coffee

Finishing the Brew

Once the lid is on, wait nearby and listen. When you hear a gurgling noise, remove the pot from heat – your brew is finished!

Enjoy: Pour into a separate mug and enjoy. If you find stovetop espresso too strong, dilute with a bit of hot water or cream. Lastly, be cautious when handling and cleaning your moka pot, as the metal will be extremely hot.